 By
ByTo check tire tread depth at home, insert an upside-down penny into your tire groove with Lincoln’s head facing you. If his entire head remains visible, your tread is below the legal 2/32-inch limit. Alternatively, use an inexpensive digital gauge across the inner, center, and outer grooves for precise measurements.
- The legal minimum tread depth in most regions is 2/32 of an inch, but wet traction drops rapidly at 4/32 of an inch.
- Always measure the inner, center, and outer ribs of each tire to catch dangerous alignment or inflation issues early.
- Built-in tread wear indicator bars provide a fast visual benchmark molded directly into the rubber grooves.
- Monthly home inspections protect vehicle safety, prevent costly blowouts, and maximize tire service life.
Why Regular At-Home Tread Inspection Matters
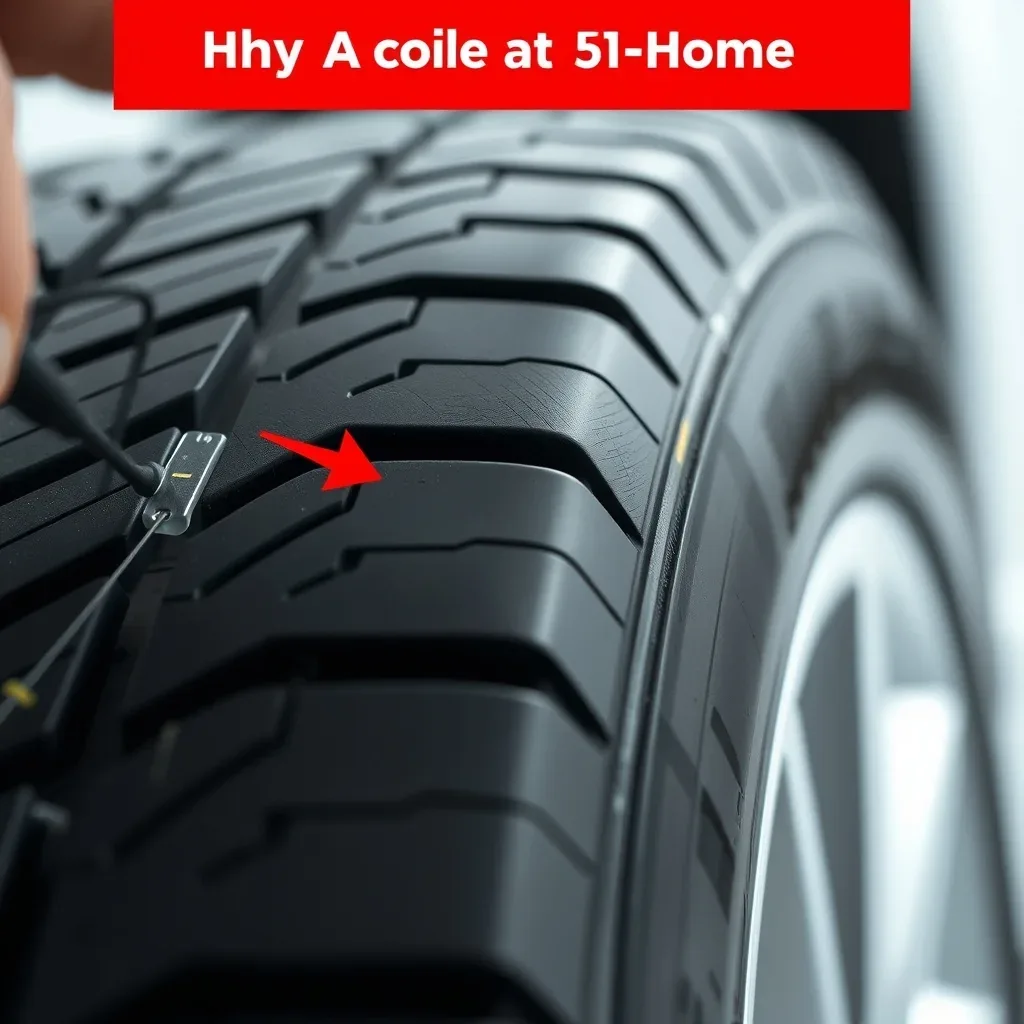
Your tires are the only contact patch between your vehicle and the pavement. The grooves molded into the rubber act as evacuation channels that pump water away from the contact patch on wet roads. When tread depth wears down, your car loses the physical channels needed to prevent hydroplaning.
According to industry performance benchmarking, tires worn down to the legal minimum can double your wet braking distances compared to fresh rubber. Knowing how to check tire tread depth at home lets you monitor this vital safety margin without paying shop fees.
Checking your tires also protects your wallet. Routine tread checks reveal mechanical problems before they destroy your rubber. If the outer shoulder wears faster than the center, your alignment is off.
If the center wears first, your tire is overinflated. Catching these patterns early allows for simple pressure adjustments or routine tire rotations. Whether you rely on factory product specifications or read an Amazon affiliate review to buy an accurate tread gauge, understanding tire build quality & durability ensures your vehicle stays safe and fuel-efficient in every driving condition.
6/32″ (4.8mm) or Greater
Full tread functionality. Grooves efficiently channel standing water away from the tire footprint. Optimal cornering grip, fuel economy, and dry braking performance remain fully intact.
4/32″ to 5/32″ (3.2mm – 4.0mm)
Noticeable performance drop on wet and snow-covered pavement. Water evacuation channels are shallow, increasing stopping distances and raising the risk of hydroplaning during heavy rain.
2/32″ (1.6mm) or Below
Legally bald. Built-in wear indicator bars are flush with the tread blocks. High risk of immediate hydroplaning, structural rubber delamination, and sudden highway blowouts.
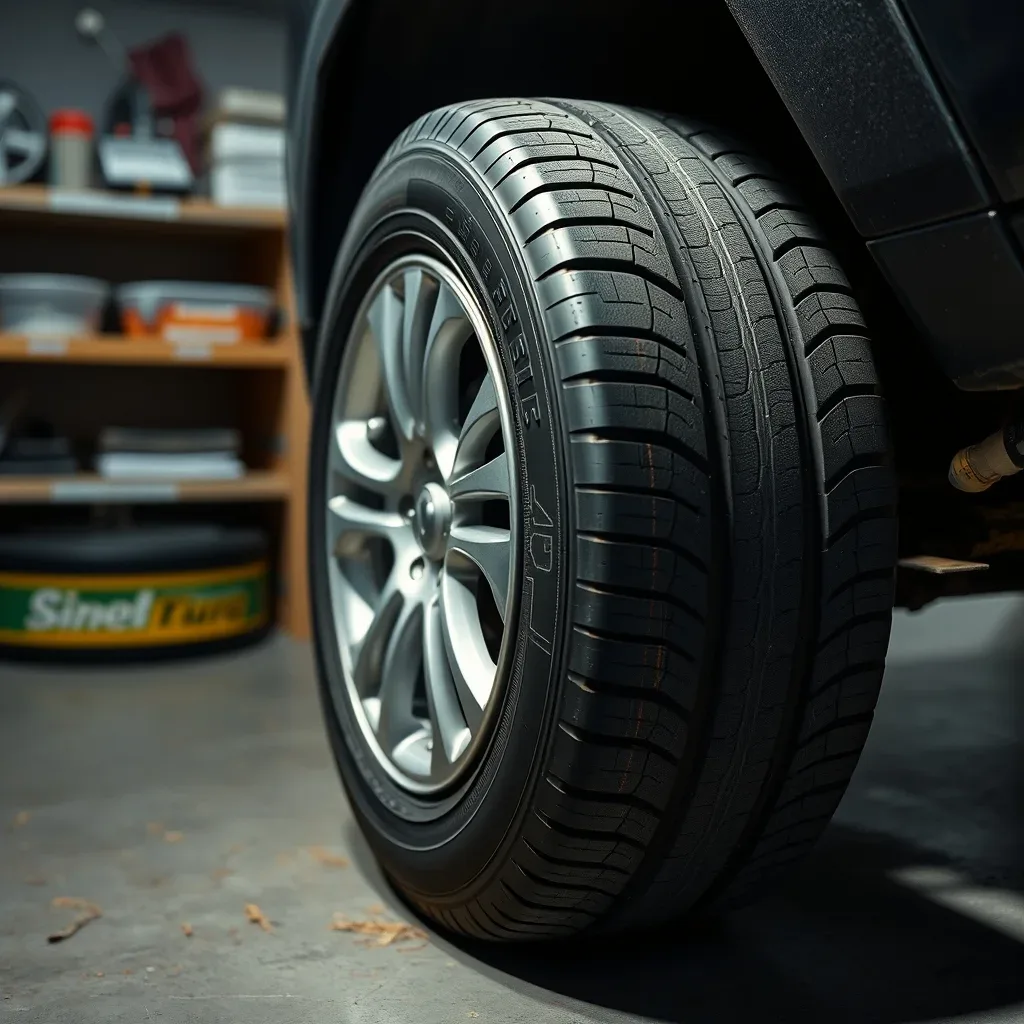
Essential Preparation, Safety Rules, and Tool Selection
Safe inspection begins before you touch rubber. A motor vehicle presents crushing and pinch hazards if not secured properly. Park the vehicle on a hard, completely flat surface such as a poured concrete garage floor or level driveway.
Shift automatic transmissions into Park, or place manual transmissions into First Gear or Reverse. Firmly engage the emergency parking brake. Switch off the engine and pocket the keys so nobody can start the car while you work.
Let the tires cool for at least thirty minutes after driving. Tires heat up during highway travel, which softens the compound and can distort fine measurements. Put on a clean pair of mechanic work gloves.
These protect your fingers from caustic brake dust, road debris, and sharp steel cords that poke through severely neglected belts. Keep safety glasses on hand to shield your eyes from dislodged road gravel when leaning deep inside the wheel wells.
| Item / Equipment | Purpose | Estimated Cost | Budget or Everyday Alternative |
|---|---|---|---|
| Dedicated Tread Depth Gauge | Measures groove depth in 32nds of an inch or millimeters | $5 , $15 | US Penny or Quarter |
| Mechanic Work Gloves | Protects skin from brake grime and frayed steel belts | $10 , $20 | Heavy-duty gardening gloves |
| LED Penlight or Inspection Light | Illuminates dark inner shoulders and water channels | $8 , $25 | Smartphone flashlight |
| Tire Marking Chalk or Grease Pencil | Identifies measured tread blocks to prevent repeat readings | $3 , $7 | Painter’s tape or children’s sidewalk chalk |
| Digital Tire Pressure Gauge | Checks inflation to confirm source of irregular tread wear | $12 , $30 | Analog pencil-style pressure gauge |
Set up your inspection area to eliminate blind spots and reduce user error. Sweep away loose gravel, leaves, or standing water around the tires so you have dry footing. Turn the steering wheel fully to the left or right to expose the complete contact patch of the front steer tires.
This simple step gives you clear visibility across the outer, center, and inner grooves. Make sure overhead lighting is bright, or position a portable work light directly at ground level to expose subtle tread wear indicators across the tire width.
The process for how to check tire tread depth at home changes based on vehicle class and tire construction. Standard passenger car tires typically start with 10/32″ to 11/32″ of new tread depth and run uniform longitudinal grooves. These are simple to read with basic tools.
In contrast, all-terrain and mud-terrain light truck tires arrive with deep 15/32″ to 18/32″ lugs. These aggressive patterns require measuring at multiple stepped blocks because outer lugs often wear at different angles than the center ribs.
Directional and staggered sport tires require extra care during performance benchmarking. High-performance summer tires feature asymmetrical grooves with shallower starting depths designed for dry grip. When checking an Amazon affiliate review or product specifications before buying measuring equipment, focus on build quality and durability. A gauge with a slender metal probe fits narrow performance sipes much better than thick plastic probes that bottom out on the shoulder blocks prematurely.
Step-by-Step Guide to How to Check Tire Tread Depth at Home

Park the Vehicle on Level Ground and Secure the Chassis
Drive your vehicle onto a flat, paved concrete or asphalt surface. Shift the transmission into Park (or Reverse for manual transmissions) and firmly engage the emergency parking brake. Switch off the engine and remove the keys.
Turn the steering wheel 45 degrees to the left or right before shutting off the engine; this exposes the front tire tread face for easier access without lifting the vehicle. Allow the tires to cool for at least 30 minutes after driving to ensure safe handling.
What Good Looks Like: The car rests completely motionless on a flat plane with the front steer tires turned outward, providing an unobstructed view across the entire contact patch.
Examine Built-In Tread Wear Indicators Across the Circumference
Locate the wear bar indicators molded into the bottom of the primary longitudinal grooves. Tire manufacturers place small raised rubber bars spaced evenly around the tire, often marked on the shoulder with small triangles or letters (TWI). Inspect these bars visually to conduct an immediate baseline performance benchmarking check. If the top of the outer tread ribs sits flush with these molded bars, the tire has reached the legal wear limit of 2/32 inch (1.6 mm) and requires immediate replacement.
What Good Looks Like: The raised indicator bars sit noticeably recessed below the adjacent tread blocks, confirming the rubber is not worn down to the bare legal minimum.
Zero and Prepare Your Depth Measurement Tool
Select a dedicated mechanical pin gauge or digital tire tread depth gauge. If you are assessing tools based on an Amazon affiliate review, check the product specifications for solid metal build quality & durability rather than flimsy plastic sliders. Push the measuring probe completely into the housing while pressing the flat metal base firmly against a hard, perfectly flat surface (such as a glass tabletop or clean metal rule).
Confirm the gauge reads exactly zero (0/32 inch or 0.0 mm). For digital units, press the “Zero” tare button to reset the digital sensor.
What Good Looks Like: The gauge scale sits dead on the zero line when the probe base is fully depressed against a flat reference plane.
Insert the Probe Across the Inner, Center, and Outer Grooves
Place the base of the tread depth gauge flat across two adjacent tread blocks, perpendicular to the tire surface. Never rest the probe directly on top of a raised wear indicator bar or an ejector ridge. Push the central pin straight down into the main channel until it firmly touches the groove floor.
Read the measurement displayed on the barrel or digital screen. Record the value down to 1/32 inch (0.8 mm). Repeat this exact measurement in three distinct lateral zones across the face of the tire: the inner tread shoulder, the center channel, and the outer tread shoulder.
What Good Looks Like: The flat metal shoulder of the gauge sits completely flush against the tread blocks without rocking, and the center pin rests flat against the bottom rubber channel.
Log Readings Across All Four Tires and Cross-Reference Safety Thresholds
Repeat the three-zone measurement process on the remaining three tires. When learning how to check tire tread depth at home, always use the lowest individual reading on a tire as its true operational rating. Compare your collected numbers against standard safety thresholds: 6/32 inch (4.8 mm) or higher indicates adequate wet and dry grip; 4/32 inch (3.2 mm) signals diminished wet-weather hydroplaning resistance and poor snow traction; 2/32 inch (1.6 mm) or lower means the tire is legally bald and unsafe to operate.
What Good Looks Like: You have recorded three clear, distinct numbers per tire (twelve total data points across the vehicle) with zero ambiguity regarding the lowest remaining depth.
Analyze Lateral Variance to Detect Uneven Tread Wear
Calculate the mathematical difference between the inner, center, and outer readings on each tire. A lateral variance greater than 2/32 inch (1.6 mm) on a single tire reveals an underlying mechanical issue. Higher center wear compared to outer shoulders indicates chronic over-inflation.
Greater shoulder wear on both outer edges indicates chronic under-inflation. Isolated inner-edge or outer-edge wear indicates poor wheel alignment angles (excessive camber or toe-in/toe-out) or worn suspension components.
What Good Looks Like: Depth readings across the inner, center, and outer grooves of each individual tire match within a margin of 1/32 inch (0.8 mm), demonstrating balanced tire pressure and proper chassis alignment.
Never rely solely on a single spot-check along the tire circumference. Roll the vehicle forward half a tire rotation (roughly three feet or one meter) after taking your initial measurements, and re-test the grooves. Tires frequently wear out of round due to heavy emergency braking, out-of-balance wheel assemblies, or sticking brake calipers. Rolling the vehicle exposes flat spots that can hide dangerously thin rubber just out of direct sight.
Troubleshooting Matrix & Common Pitfalls to Avoid
Accurate measurement is critical when learning How To Check Tire Tread Depth At Home. Inconsistent readings often stem from improper tool placement, debris, or irregular tire wear patterns. Identifying these errors early prevents premature tire disposal and keeps your vehicle safe on wet pavement.
| Symptom / Warning Sign | Probable Root Cause | Immediate Corrective Fix |
|---|---|---|
| Inconsistent depth readings across the same groove (varying by more than 2/32 inch). | The depth gauge probe is resting on a raised wear bar, pebble, or packed road grit instead of the true groove floor. | Clear the groove with a small flathead screwdriver or stiff brush. Reposition the gauge probe directly on the smooth rubber base, at least one inch away from built-in wear bars. |
| Outer tread ribs show adequate depth (4/32 inch), but the inner shoulder is completely bald. | Severe mechanical misalignment (excessive negative camber or toe-out) or worn suspension components. | Measure across three distinct points: outer edge, center, and inner edge. Replace the tire immediately if any zone reads at or below 2/32 inch, then schedule a professional four-wheel alignment. |
| Digital tread gauge displays fluctuating or negative values during measurement. | The tool was zeroed on an uneven surface, or low battery voltage is disrupting the internal sensor. | Consult the tool Product Specifications to confirm operating limits. Place the flat metal base firmly against a machined flat surface or clean glass pane, press the zero button, and verify repeatable calibration before testing. |
| Tread depth exceeds safe limits (above 6/32 inch), but the tire slips under moderate wet braking. | Severe rubber oxidation, dry rot, or heat cycling hardening the compound, common in tires older than five years. | Check the four-digit DOT date code stamped on the sidewall. Perform Performance Benchmarking tests by inspecting the tread blocks for hairline surface cracking (weather checking); replace hardened tires regardless of remaining tread. |
| Penny test gives ambiguous readings where Lincoln’s head is partially obscured at an angle. | Holding the coin tilted rather than perpendicular (90 degrees) relative to the tire tread crown. | Insert the penny completely vertical into the center channel. For definitive results, upgrade from loose change to a dedicated dial or digital depth gauge with verified Build Quality & Durability. |
Costly Mistakes and Beginner Traps to Avoid
- Measuring Only the Center Channel: Beginners often check just the center groove and assume the tire is roadworthy. Under-inflation wears the outer shoulders, while over-inflation burns through the center rib. Always record measurements across three zones, inner shoulder, center, and outer shoulder. If the lowest reading hits 2/32 inch, the entire tire is legally worn out and must be replaced.
- Relying on Cheap, Uncalibrated Plastic Gauges: Many budget-tier tools found in an Amazon Affiliate Review showcase ultra-low prices but suffer from weak Build Quality & Durability. Plastic slider pins flex under light pressure, distorting your reading by up to 2/32 inch. Invest in a solid metal manual gauge or a calibrated digital unit to ensure your safety data remains mathematically reliable.
- Ignoring Tire Cleanliness Before Testing: Pushing a probe into a groove packed with compacted gravel or road salt delivers artificially high tread readings. A tire that appears to have 4/32 inch of remaining rubber might actually sit at a dangerous 2/32 inch once debris is cleared. Take thirty seconds to scrape out the channel before placing the gauge anvil flush against the tread blocks.
- Failing to Turn the Steering Wheel for Front Tire Access: Squatting beside the car and blindly reaching into the wheel well leads to bad probe angles and misread numbers. Cut the steering wheel fully to the left or right to expose the complete contact patch of the front tires. This simple step gives you clear line-of-sight across the entire width of the tread profile.
- Assuming Front and Rear Tires Wear at the Same Rate: Front tires on front-wheel-drive vehicles handle braking, steering, and acceleration loads simultaneously, burning through tread twice as fast as rear tires. Never evaluate a single tire and apply that number to all four corners. Measure every tire individually to determine if a simple tire rotation can balance out normal wear patterns.
Decision Guide & Cost Analysis: DIY vs. Replacement / Professional Service
Knowing how to check tire tread depth at home gives you immediate insight into the health of your vehicle. However, regular measurement is only the first step. You must also know when a simple reading warrants basic home monitoring and when it signals the need for professional tire replacement or suspension repair.
Safe Self-Resolution and DIY Scope
Routine tread inspections are entirely safe and practical for any vehicle owner to handle in a home garage or driveway. You should manage this task yourself under the following conditions:
- Scheduled Monthly Wear Checks: Regularly measuring outer, center, and inner grooves across all four tires to track gradual rubber loss.
- Pre-Trip Safety Assessments: Confirming your tread remains well above minimum wet-weather limits (typically 4/32 inch) prior to long highway trips or seasonal weather shifts.
- Validating Tool Accuracy: Using a dedicated mechanical or digital depth gauge. When selecting tools, many drivers rely on an Amazon Affiliate Review or verified user feedback to find gauges that deliver consistent product specifications and reliable build quality & durability.
- Performance Benchmarking: Recording groove depths across rotations to evaluate whether your driving habits match the manufacturer treadwear warranty ratings.
As long as the tire shows even wear, holds air pressure reliably, and displays more than 4/32 inch of remaining tread, self-monitoring is the most cost-effective and sensible approach.
When to Escalate to Tire Replacement or Professional Service
Tires are the sole contact patch between a multi-ton vehicle and the pavement. While reading the tread is a DIY task, resolving critical wear patterns or structural tire failures is not. You should immediately escalate to a certified technician or purchase replacement hardware under the following circumstances:
- Tread Depth at or Below 2/32 Inch: Legally, tires are considered fully worn out at 2/32 inch (1.6 mm). At this stage, built-in wear bars sit flush with the tread ribs. No DIY fix exists; the tire must be replaced immediately because hydroplaning resistance drops to near zero.
- Cords or Belts Exposed: If your depth check reveals internal steel belts or nylon cords showing through the rubber, the structural integrity of the casing is compromised. Drive strictly on a spare or have the vehicle towed to a tire center.
- Sidewall Bulges, Bubbles, or Deep Cracks: Impact damage can tear the inner liner, creating an external bubble on the sidewall. Deep ozone cracks or dry rot also compromise safety. These are catastrophic blowout risks that cannot be repaired.
- Severe Heel-Toe, Cupping, or One-Sided Wear: If inner grooves measure 2/32 inch while outer grooves measure 6/32 inch, replacing the tire alone will not resolve the issue. This uneven degradation indicates worn struts, failed ball joints, or incorrect wheel alignment that requires specialized shop diagnostic equipment.
- Vibration and Dynamic Imbalance: If low tread depth is accompanied by a steering wheel shake at highway speeds, professional balancing or rim runout checks are required.
| Decision Factor | Self-Resolution / DIY | Escalation / Replacement / Pro Service |
|---|---|---|
| Typical Time Required | 5 to 15 minutes for all four wheels | 45 to 90 minutes (shop wait time) |
| Estimated Cost Range (in USD) | $0 (coin test) to $15 (gauge purchase) | $150 to $1,200+ (per tire, mount, balance, or alignment) |
| Skill Level Required | Beginner / Basic automotive awareness | Certified ASE / Tire Industry Association (TIA) tech |
| Equipment Needed | Pocket depth gauge, coin, tire pressure gauge, notebook | Commercial tire changer, dynamic wheel balancer, laser alignment rack |
| Risk Level | Low (risk limited to incorrect measurement readings) | High (involves high-speed tire failure, structural collapse, or braking loss) |
Frequently Asked Questions
What is the legal minimum tire tread depth?
In most regions, the legal minimum tread depth is 2/32 of an inch across the main contact grooves. Driving on tires worn down to or past this limit dramatically increases hydroplaning risks and significantly extends your vehicle’s stopping distance in wet weather.
How accurate is the penny test compared to a dedicated gauge?
While the penny test offers a quick, accessible pass-fail check, it lacks the precision needed for accurate performance benchmarking. Investing in an inexpensive digital or dial tread gauge lets you match your exact readings against original product specifications and track wear down to the 32nd of an inch.
Where on the tire should I take tread measurements?
Always measure tread depth in at least three locations: the inner edge, center groove, and outer edge of the tire. Doing this allows you to catch irregular wear patterns early, which often signal hidden alignment, suspension, or pressure issues.
Can I rely on mobile apps to measure tread wear?
Mobile scanning apps use camera sensors and predictive algorithms, but poor lighting, road grime, and camera angle variations can lead to inaccurate results. For verifying long-term build quality & durability, physical measurement tools remain the gold standard for reliable at-home diagnostics.
What do built-in wear indicator bars indicate?
Tread wear indicator bars are narrow, raised rubber bridges molded into the bottoms of the primary tread grooves. When the outer tread wears down completely flush with these bars, your tire has reached 2/32 of an inch and must be replaced immediately.
How does uneven wear affect how to check tire tread depth at home?
When learning how to check tire tread depth at home, you must always base your replacement decision on the shallowest reading found on the tire. Even if the center tread shows adequate depth, a completely bald inner or outer shoulder makes the tire structurally unsafe for road use.
Preventative Care & Long-Term Maintenance Schedule
Maximizing tire life requires consistent monitoring and routine maintenance. Follow this schedule to protect your tread investment, maintain handling safety, and catch mechanical problems before they ruin your tires:
- Monthly Routine Checks: Inspect cold tire inflation levels using a calibrated air gauge, adjusting to the PSI listed on your vehicle door jamb sticker rather than the maximum pressure on the sidewall. Perform a quick visual scan of the tread face and sidewalls for embedded nails, gravel, or abnormal bulges.
- Every 5,000 to 7,500 Miles: Rotate your tires front-to-back or in an X-pattern according to your drivetrain specifications to equalize wear rates across all positions. Use a depth gauge to log tread levels across all four wheels, cross-referencing your readings with past logs or a trusted Amazon affiliate review to determine if upgraded replacement rubber is approaching.
- Seasonal / Bi-Annual Service: Have a professional technician inspect your wheel alignment, wheel balance, and suspension bushings before harsh winter or hot summer driving cycles. Checking these mechanical components protects tread build quality & durability, ensuring you do not suffer from rapid cupping, feathering, or inner shoulder wear.
Actionable Next Steps
Park your vehicle on flat ground, turn the steering wheel all the way to one side to expose the front tread, and take your first set of depth measurements across the inner, center, and outer grooves. Record your lowest number, compare it to the safety threshold of 4/32 of an inch for wet-weather driving, and immediately schedule a tire rotation or replacement if your tread is nearing the wear bars.