 By
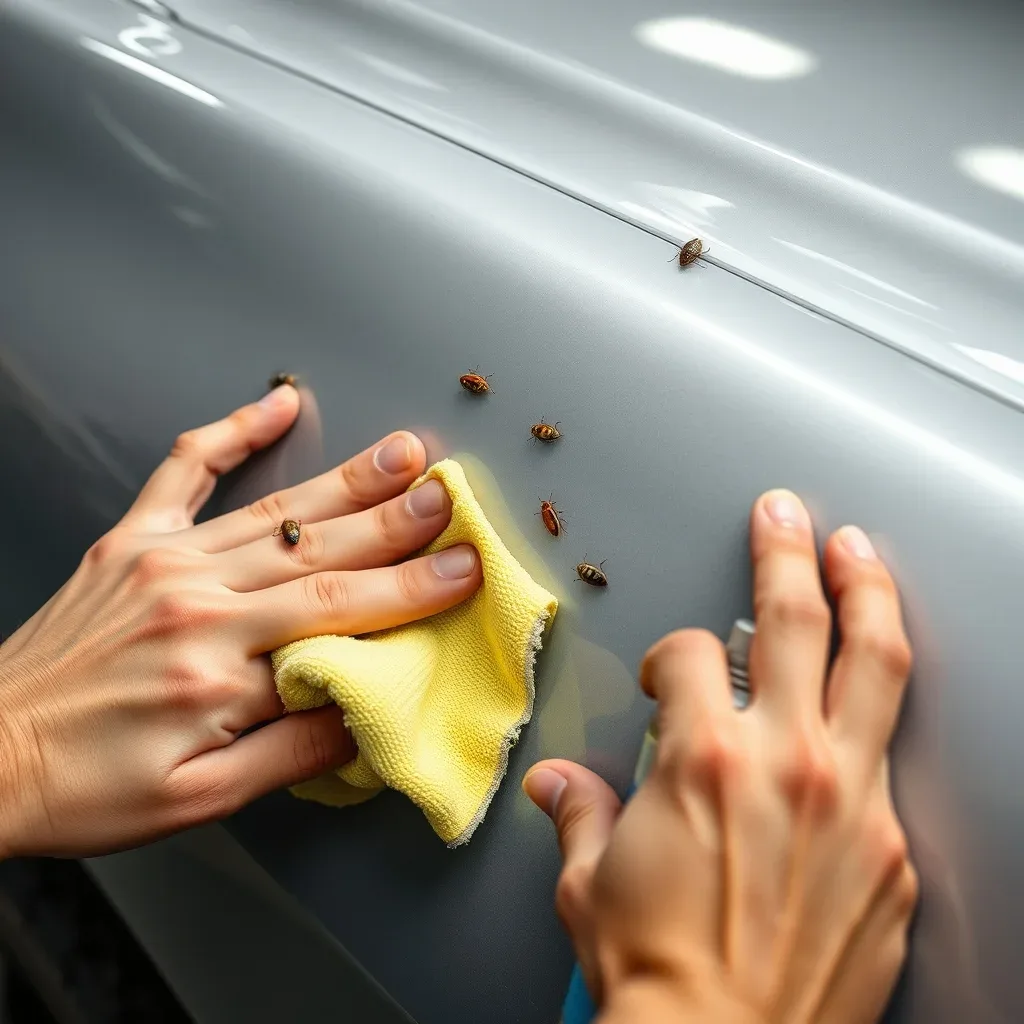
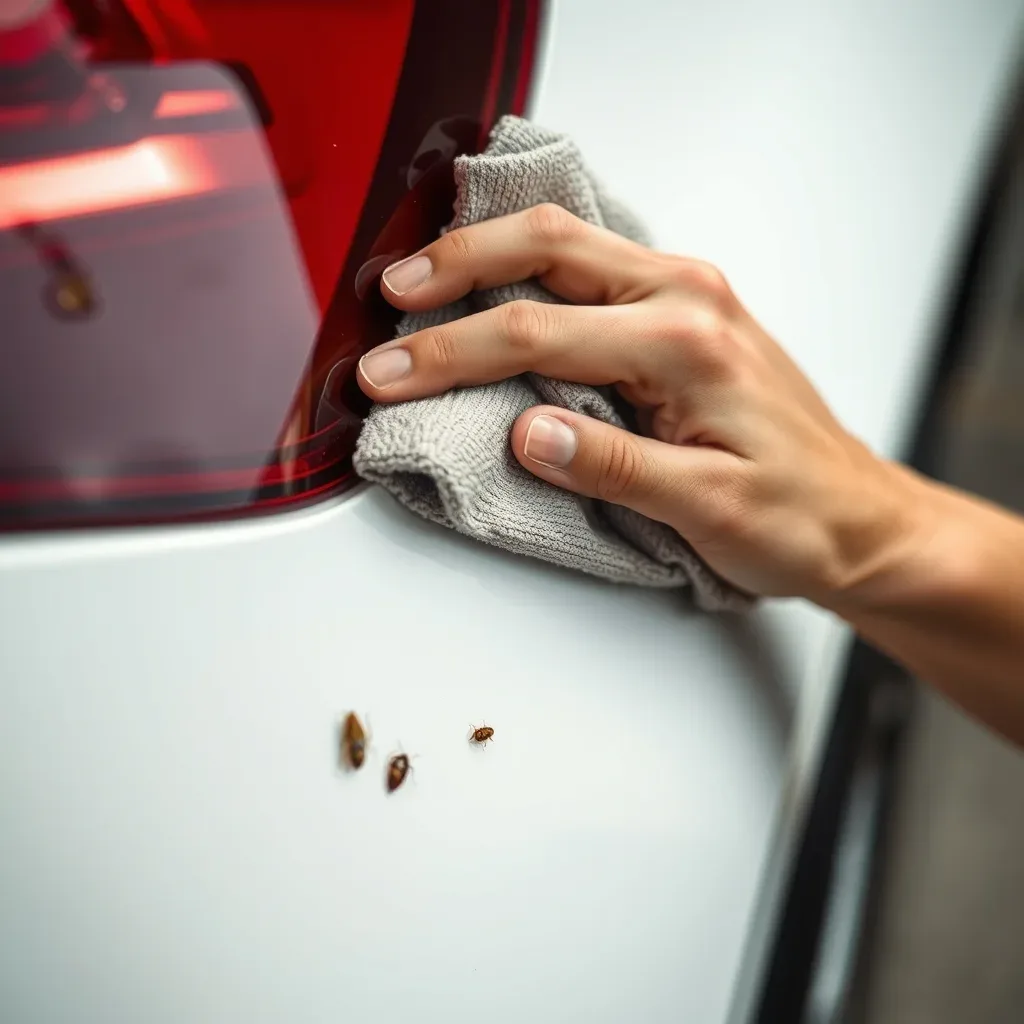
Remove dried bugs from car paint by softening the residue first, never scraping. Soak the area with a bug remover spray or warm soapy water for two to five minutes, then lift the softened debris with a microfiber cloth using light pressure. Reapply moisture as needed, then clean and protect the paint.
- Water and dwell time do the work. A dried bug is glued on; moisture breaks that bond so the residue lifts away instead of tearing at the surface.
- Your clear coat is thin, roughly 40 to 60 microns. Fingernails, razor blades, and scouring pads remove bug guts and clear coat at the same time.
- Heat and sunlight cure the problem into a stain. Bug splatter left in direct sun for a week can etch permanently, which no wash will fix.
- Always finish with protection. A coat of wax or sealant on the front bumper and mirrors makes the next round of dried bug residue far easier to release.
Why Dried Bug Residue Attacks Automotive Clear Coat
Bug splatter is not just dirt. Insect remains carry acidic body fluids, proteins, and enzymes that sit on top of your paint and start working into it. When that splatter dries, the water evaporates and the remaining solids bond tightly to the surface, which is why a normal wash often just smears them around.
The real damage happens under heat. A dark hood or bumper in summer sun can reach well past 140 degrees Fahrenheit, and at that temperature the acidic residue softens the clear coat just enough to sink in. Once the clear coat is etched, the texture and dull spot stay behind even after the bug itself is gone.
That turns a two-minute rinse into a machine polish or a body shop bill. Prompt, gentle removal protects both the finish and the resale value of the car.
Fresh Splatter, Under 24 Hours
The residue is still soft and slightly damp. It sits on top of the clear coat rather than in it, and no visible ring or dull spot has formed. This is the easiest stage to handle and carries no risk of permanent marking.
Dried Two to Seven Days, Hard to the Touch
The splatter has crusted and won’t budge under a garden hose. You may see a faint outline or slight dulling where the residue sits, which signals the acids are beginning to work on the surface. Left in sun, this stage becomes permanent fast.
Baked In for Weeks, or Visible Etching and Cracking
The stain will not lift after repeated soaking, the paint feels rough or looks cloudy, or fine cracks appear in the clear coat. At this point the damage has moved below the surface and washing cannot reverse it. Scraping now will make it far worse.
Preparation, Safety, and Setup Requirements for Dried Bug Removal
Dried bug residue is not just ugly. The splatter is mildly acidic, and once it bakes onto a hot panel it starts etching into the automotive clear coat. That thin, hard layer is what gives car paint its gloss and UV protection.
Scratch through it, or let acid sit on it, and the damage shows up as a dull ring or a pinhole that no wash will fix. Everything in this section is about lowering that risk before you touch the panel.
Protective Gear and Handling Boundaries
Bug removers are stronger than regular car shampoo. Many use enzymes, surfactants, or mild solvents to break down proteins and chitin. Wear nitrile gloves to keep the product off your skin, and safety glasses to block mist and any splash from rinse water.
If you are using a solvent-based spray in a closed garage, add a respirator or move the car outside. Work in shade, never in direct sun, and keep children and pets clear of the area. Do not eat, drink, or smoke while you work, and label any spray bottle you mix yourself.
Panel temperature matters more than air temperature. Touch the hood with the back of your hand. If it feels warm, wait.
Product that flashes dry on a hot surface can bake the residue harder and leave streaks in the clear coat, so aim for a cool panel in the 15 to 27 degrees Celsius range. Skip the job entirely right after a long drive.
Some tools should never touch car paint, no matter how stubborn the spot. Razor blades, scouring pads, stiff grout brushes, and acetone or brake cleaner will all cause damage that costs far more than the bug spot. Also keep bug remover spray away from rubber seals, textured plastic trim, convertible soft tops, vinyl wraps, and the edges of paint protection film, since many formulas stain or dry out those materials. On modern bumpers, cover parking sensors and backup cameras, and never spray into the engine bay or near electrical connectors.
Prerequisites to Confirm Before You Start
Check what kind of finish you have. Gloss clear coat, single-stage paint, matte wrap, and satin film all behave differently. Look for existing rock chips, cracks, or peeling edges where cleaner can seep under the paint.
If your car was repainted in the last 30 days, wait. Always test your chosen product on a small, low-visibility spot first, such as the lower edge of a fender, and give it a minute to react before you commit to the whole hood.
Plan your waste before you make any. Rinse water and used towels carry cleaner and bug residue, so capture runoff in a bucket rather than letting it run into a storm drain. Launder microfiber cloths separately with a mild detergent and no fabric softener, and send leftover solvent-based product to a household hazardous waste drop-off rather than the trash.
Tools, Materials & Gear
| Item / Equipment | Purpose | Estimated Cost | Budget or Everyday Alternative |
|---|
| Symptom / Warning Sign | Probable Root Cause | Immediate Corrective Fix |
|---|---|---|
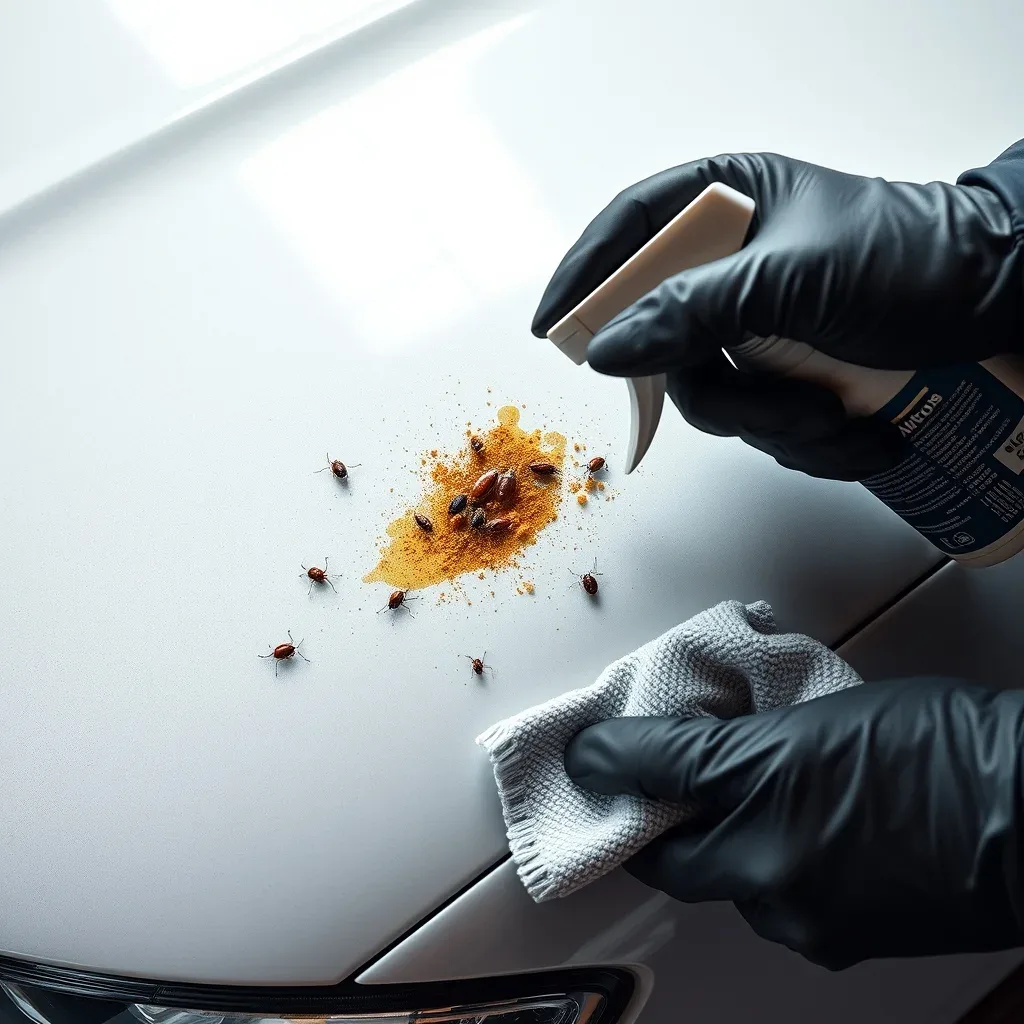
| The dried bug residue smears into a yellow-brown film instead of lifting cleanly. | The bug remover spray flashed off too fast because the panel was hot from sun or engine heat, so the solvent never had time to soften the protein and shell material. | Move the car into shade and let the panel cool to the touch, roughly 15 to 20 minutes. Reapply the bug remover spray, wait a full 3 minutes, then lift with a damp microfiber cloth using straight-line passes. Never re-spray onto a hot surface. |
| Paint still feels gritty or bumpy after washing, like sandpaper under your fingertips. | Softened bug matter was wiped away wet but re-hardened into the pores of the automotive clear coat before the final wipe, leaving a bonded micro-layer. | Re-wet the area with bug remover spray or warm soapy water and let it dwell 60 seconds. Wipe with a damp microfiber cloth, flipping to a clean side every pass. If grit remains, use a clay bar with lubricant using light pressure only. |
| A faint dull ring or hazy etch mark stays behind where the bug sat, even after the residue is gone. | Acidic bug remains sat too long and started etching the top layer of the automotive clear coat. The residue is gone; the chemical damage is not. | Apply a fine finishing polish by hand with a soft foam applicator, using light pressure in a 6-inch square area, then buff off with a clean microfiber cloth. Follow with a paint sealant. If the etch catches a fingernail, stop and see a professional detailer. |
| New fine scratches or spiderweb lines appear right after removal. | Dry wiping, a dirty or gritty microfiber cloth, or an abrasive tool such as a scouring pad, razor blade, or stiff brush was dragged across the car paint. | Stop immediately. Switch to a fresh, clean microfiber cloth and keep the surface wet with lubricant or bug remover spray. Remove light marring with a finishing polish, then reseal the panel. |
| The same bug-stained spots come back week after week, mostly on the bumper, mirror caps, and hood leading edge. | The protective layer of wax or sealant has worn off, so dried bug residue bonds directly to bare clear coat. Parking under trees or near streetlights adds to the buildup. | Wash and decontaminate the panel, then apply a coat of paint sealant or synthetic wax and let it cure for 12 hours. Reapply every 8 to 12 weeks. For high-impact zones, consider paint protection film on the front bumper and hood edge. |
Costly Mistakes & Beginner Traps to Avoid
- Scrubbing with a fingernail, credit card, or scraper. It feels faster than waiting, but a hard edge cuts straight through the automotive clear coat. That gouge cannot be washed away, only repainted. Let the bug remover spray do the work and give it a full 2 to 3 minutes of dwell time.
- Using a pressure washer at point-blank range. Holding the nozzle within a few inches of the car paint can chip the clear coat and force water past trim seals. Keep the wand at least 12 inches away and use a wide fan pattern, never a pinpoint jet on dried bug residue.
- Letting the bug remover spray dry on the panel. Once it evaporates, the dissolved bug material sinks back into the surface and can leave a stubborn stain or a cloudy patch. Work one panel at a time, in shade, and wipe before the product flashes off.
- Reaching for household products. Dish soap, glass cleaner, bleach, and insect repellent all strip wax and can attack the clear coat. So can harsh alkaline cleaners. Stick to a purpose-made bug remover spray or a pH-neutral car shampoo with warm water.
- Wiping with a dry or dirty microfiber cloth. A dry towel traps grit and drags it across the surface like sandpaper, and a cloth that already holds bug debris just spreads it back on. Use a clean microfiber cloth, keep the surface wet, and fold it into quarters so you always have a fresh face.
Decision Guide & Cost Analysis: DIY vs. Professional Service
Dried bug residue is not just a cosmetic annoyance. Bug splatter is acidic, and once it bakes onto car paint in the sun, it starts to etch into the automotive clear coat , the thin, transparent layer that protects the color coat and gives it gloss. That layer is roughly the thickness of a sticky note, so every decision you make about removal carries real consequences.
The question is not whether you can scrub harder. It is whether the damage is still on top of the clear coat or already inside it.
Use the criteria below to make an honest call. Most drivers can handle their own bug removal safely. A smaller group should stop, put down the towel, and pay a professional , not because the job is complicated, but because the paint is already compromised.
Safe Self-Resolution / DIY Scope
Self-handling is the right choice in a clear set of circumstances, and in those cases it is both cheaper and faster than booking a shop.
You are safely in DIY territory when the vehicle has factory paint in good condition with a healthy, glossy clear coat and no previous peeling, oxidation, or repaint work. The dried bug residue should be sitting visibly on the surface , raised specks, splatter patterns, and yellow-brown stains you can feel with a fingertip , rather than looking like a dull, whitish ring pressed into the finish. Timing matters too. Splatter that has been on the car for days, not weeks, is almost always removable with a dedicated bug remover spray, warm water, and a microfiber cloth.
Location on the vehicle is another useful filter. Front bumpers, hoods, mirrors, and leading edges of the fenders are designed to take this abuse, and their clear coat holds up well to a proper soak-and-lift approach. A single panel, a handful of spots, or a seasonal cleanup after a long highway drive all fall comfortably inside what an average person can do in a driveway with basic supplies.
DIY also makes sense when you have shade, a water source, and an hour to spare. Working on hot panels in direct sun is the one condition that turns a safe job into a risky one, because heat softens the clear coat and makes it far more vulnerable to scratching. If you can wait for a cool panel and a shaded spot, do it yourself.
Finally, self-resolution is appropriate when you are prepared to be patient. The process rewards soaking and chemical softening; it punishes impatience and pressure. If you know you will not scrub, you are the right person for the job.
When to Escalate: Paint Correction, Panel Repair, or a Professional Detailer
Unlike a consumer gadget, there is no warranty RMA path for bug damage , road contaminants are not a manufacturing defect, and no automaker will cover etched clear coat. The equivalent escalation here is professional paint correction, film or wrap replacement, or body shop repaint. Escalate when any of the following is true.
Visible etching has already occurred. If the stain looks like a faint white or darker ring, a cloudy patch, or a texture you can feel as a depression rather than a bump, the acid has eaten into the clear coat. No amount of bug remover spray will fix that, because the material is gone, not dirty. Correction requires machine compounding, and often wet sanding , both of which remove additional clear coat thickness and can burn through the paint permanently in untrained hands. That is a certified detailer’s job.
The finish is fragile or non-standard. Matte and satin finishes, vinyl wraps, paint protection film, single-stage paint on older vehicles, and aftermarket or budget repaints all react badly to the solvents and agitation that normal clear coats tolerate. Wraps and film can be permanently stained or lifted at the edges. Classic and show cars fall here as well; the cost of a mistake dwarfs the cost of a professional wash and decontamination.
The affected area is large or the paint is already failing. Heavy swarms across an entire front end, RV caps, or fleet vehicles take more time and product than a driveway session allows, and the risk of uneven results rises. If the clear coat is already peeling, chalking, or lifting , common on older hoods and bumper covers , any aggressive contact will take paint with it. Once paint is physically missing, chipped, or cracked down to primer or bare metal, you have crossed from cleaning into panel repair, and that means a body shop and a repaint estimate, not a bottle of remover.
You are about to reach for a machine polisher, a razor blade, an abrasive pad, or a strong solvent. That instinct is the clearest stop sign in this entire guide. Hand application of a purpose-made product is DIY. Rotating tools, wet sanding, and unknown chemicals are not.
Decision Comparison Table
| Decision Factor | Self-Resolution / DIY | Escalation / Replacement / Pro Service |
|---|---|---|
| Typical Time Required | 20 to 45 minutes for a normal front-end cleanup, including soak time and a final rinse. | Half a day to three days. A professional wash and decontamination is usually same-day; paint correction or panel repaint can hold the car for several days. |
| Estimated Cost Range (USD) | $25 to $60 in one-time supplies: a bug remover spray, several microfiber cloths, a wash mitt, and optionally a clay bar kit. Supplies last multiple sessions. | $75 to $200 for professional bug removal and decontamination; $200 to $500 for one-step or two-step paint correction; $500 to $1,500+ per panel for repaint; $200 to $800 per panel to replace paint protection film or wrap. |
| Skill Level Required | Beginner. Patience and the discipline not to scrub are the only real requirements. | Intermediate to expert. Machine polishing, wet sanding, and paint thickness management require training and the judgment to know when to stop. |
| Equipment Needed | Bug remover spray, two buckets, a wash mitt, microfiber cloths, shade, and a hose or rinse water. | Dual-action polisher, compounds and finishing polishes, paint thickness gauge, detailing lighting, and a controlled indoor space. Repaint work requires a booth and spray equipment. |
| Risk Level | Low when the clear coat is intact and the panel is cool. Moderate if you apply heavy pressure or work in direct sun, which can mar the finish. | Low risk to the paint when handled by a competent professional. High financial risk if you attempt correction tools yourself without experience , clear coat damage is permanent and irreversible. |
Frequently Asked Questions
How long can dried bug residue stay on car paint before it causes permanent damage?
Treat 48 hours as your practical limit. Bug splatter is acidic and enzymatic, so once it dries it begins etching the automotive clear coat, and after a week or two in summer heat those marks can become permanent craters that only wet sanding or machine polishing will fix. If you cannot wash the car immediately, get the residue wet again or park it in shade to slow the chemical reaction.
Can I use household products like WD-40, glass cleaner, or dish soap on bug splatter?
Dish soap and glass cleaner are not strong enough to soften hardened bug protein and often require aggressive scrubbing that dulls the clear coat. WD-40 will loosen dried bug residue, but it strips wax and sealant and needs a full re-application of protection afterward. A dedicated bug remover spray is formulated to break down the protein while staying safe on car paint, which makes it the better default choice.
Will a pressure washer remove dried bugs without damaging the paint?
A pressure washer is excellent for softening and lifting fresh splatter, but it will not remove fully dried bugs no matter how close you get. Hold the nozzle at least 12 inches from the surface and use a wide fan tip; keeping the wand moving is what prevents clear coat damage. Anything left after the pre-rinse needs chemical help, not more pressure.
Is bug remover spray safe on matte paint, vinyl wraps, and ceramic coatings?
Most bug remover sprays are safe on these surfaces, but check the label for solvent content and avoid anything with heavy petroleum distillates on matte finishes and wraps. Ceramic-coated cars usually need a milder product since the coating already resists bonding. When in doubt, test a small hidden area first and use a pH-neutral, water-based formula.
Do I need to polish or wax after removing dried bug residue?
Only if the splatter left a visible etch mark or dull spot behind. Wiping down a small area with bug remover spray and a microfiber cloth does not strip your protection layer, but anything that involved soaking, repeated passes, or a stronger solvent likely did. A quick spray wax or sealant touch-up on the affected panel restores the barrier and makes the next cleanup easier.
Why are love bugs and similar swarms worse for car paint than other insects?
Love bugs carry a higher concentration of acidic body fluid, and they tend to hit in dense clusters on hot highway panels, which accelerates the etching process. Their residue also dries faster and harder than typical mosquito or moth splatter. If you drive through a swarm, prioritize a rinse within a few hours rather than waiting for your next wash.
Can I remove dried bugs from a hot hood or in direct sunlight?
No. Heat softens the clear coat and makes it far more vulnerable to scratching, and products evaporate before they can do their job. Move the car into shade and let the panel cool to the touch first. Working on a cool surface is the single easiest way to protect car paint during any bug removal job.
Preventative Care & Long-Term Maintenance Schedule
- After every highway drive or night trip (within 24 to 48 hours): Rinse the front bumper, hood, and mirrors with water, or do a quick wipe with bug remover spray and a microfiber cloth if the residue has already dried. This single habit prevents nearly all permanent etching.
- Weekly: Wash the front-facing panels and inspect the leading edge of the hood, mirror caps, and bumper for early bug strikes or faint etch rings. Catching them at this stage takes seconds instead of an hour.
- Monthly: Apply a spray wax, sealant, or ceramic topper to the hood, bumper, mirrors, and A-pillars. A slick sacrificial layer means dried bug residue releases with light contact instead of soaking in.
- Start of bug season (spring and early summer): Do a full decontamination wash, then apply a durable sealant or ceramic coating to the front clip. Consider paint protection film on the bumper and hood if you regularly drive through heavy insect activity.
- Seasonal checks (every three months): Clay bar the front panels to pull out embedded contamination, inspect the clear coat under direct light for etching or pitting, and top up protection. This is also the right time to check for stone chips that let moisture under the paint.
- Before long-term storage or a road trip: Wash and protect the front end, and pack a small kit with bug remover spray, a microfiber cloth, and waterless wash so you can respond the same day instead of the same week.
Actionable Next Steps
Go check the front of your car right now. If you can feel a raised texture or see a dull ring where a bug hit, the residue has already started working on the clear coat, and the fix is a soak with bug remover spray followed by a gentle microfiber cloth wipe. Once the panel is clean and cool, put a coat of wax or sealant on the hood and bumper so the next swarm wipes away instead of etching in.