 By
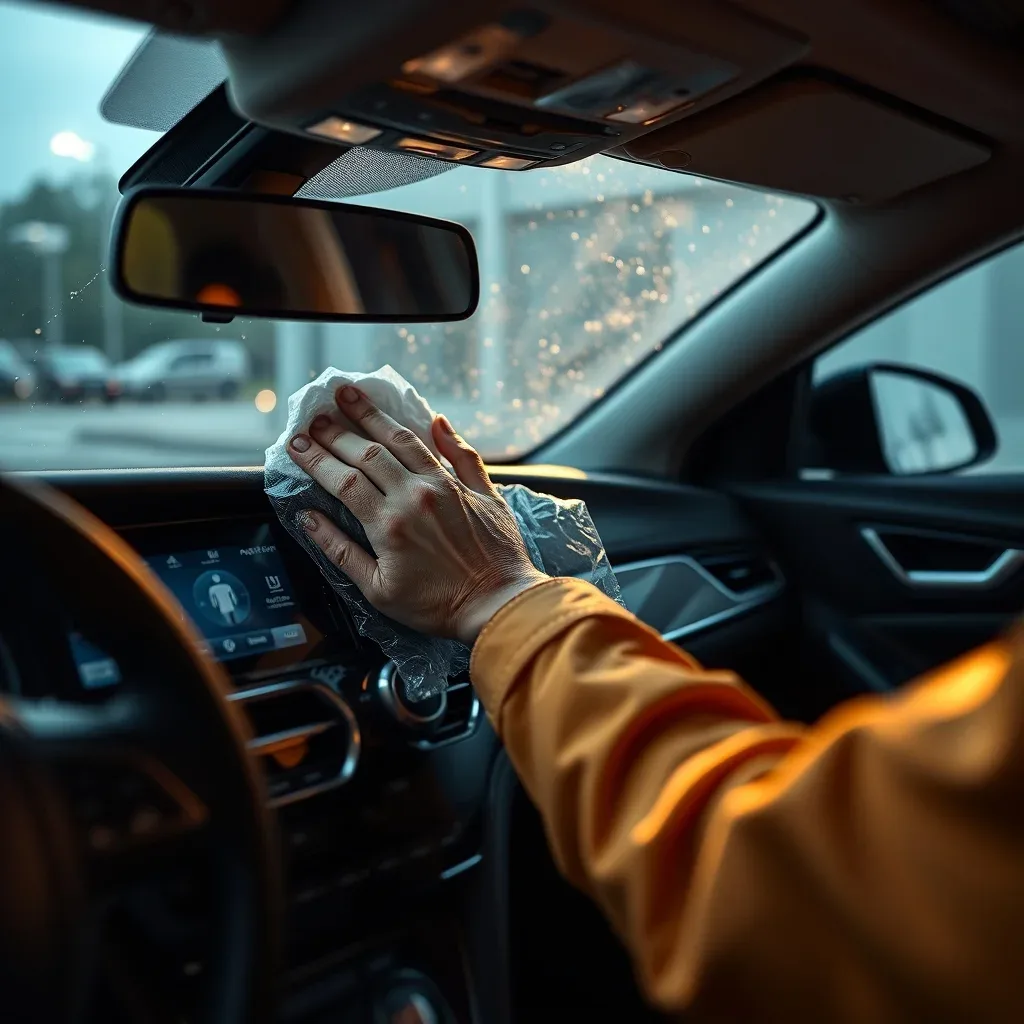
ByTo clean your car touchscreen without damage, turn off the display completely. Lightly mist a clean microfiber cloth with distilled water or a dedicated screen cleaner, never spray liquid directly onto the glass. Gently wipe the surface using straight, light strokes. Never use ammonia, household window cleaners, or abrasive paper towels.
- Isolate Electrical Components: Power down the screen to make dust visible and prevent accidental input or electrical static while wiping.
- Preserve Chemical Coatings: Factory displays have delicate anti-glare and oleophobic films that harsh solvents, alcohol, and ammonia strip away permanently.
- Control Moisture Levels: Liquid sprayed directly on the dashboard can seep into bezel seams, shorting internal circuit boards and digitizer ribbons.
- Use Non-Abrasive Materials: Only ultra-soft, high-GSM microfiber towels should touch the panel; wood-pulp paper towels create permanent surface micro-scratches.
The Science Behind Automotive Display Care
Knowing how to clean car touchscreen without damage protects more than just the appearance of your dashboard. Modern vehicle infotainment systems use capacitive digitizers coated with microscopic chemical treatments: anti-reflective (AR) and oleophobic (oil-repellent) layers. These microscopic barriers improve daytime visibility and repel finger oils.
However, these coatings are exceptionally thin. Harsh chemicals dissolve them quickly, while coarse fibers scratch them permanently. Once degraded, the screen develops milky patches, severe glare, and erratic touch responsiveness.
Replacing an infotainment assembly is a major financial hit. While a casual Amazon affiliate review might suggest all-purpose dashboard wipes, actual OEM product specifications show that automotive displays require neutral, specialized care. Dealerships rarely replace just the glass cover; they replace the entire head unit, which often costs between $1,200 and $4,500. Preserving build quality and durability through proper cleaning ensures accurate performance benchmarking for critical navigation, safety cameras, and climate systems throughout your vehicle’s lifespan.
Dry Dust and Light Smudges
Surface shows loose cabin dust, dry pollen, or minor finger oil without buildup. The protective factory oleophobic coating remains uniform and intact.
Sticky Residue and Coating Hazing
Sticky food residue, heavy grease, or mild surface marring visible under direct sunlight. Display response may lag slightly over smeared areas.
Delamination and Liquid Ingress
Peeling coating, rainbow halos, milky discoloration, ghost touches, or fluid trapped behind the protective cover glass.
Essential Preparation, Tools & System Variations
Before you start learning How To Clean Car Touchscreen Without Damage, you must review your vehicle hardware and system specifications. Modern car displays run on sensitive electronics and often feature specialized chemical coatings to reduce glare and fingerprints. Turn off your vehicle’s ignition and power down the infotainment system completely.
Working on a dark screen makes it much easier to spot smudges, dust, and oily residue. Ensure the cabin temperature is moderate before you begin. Direct, hot sunlight can cause cleaning liquids to evaporate too quickly, which leaves stubborn streaks or residue behind on the delicate glass and plastic layers.
| Item / Equipment | Purpose | Estimated Cost | Budget or Everyday Alternative |
|---|---|---|---|
| Microfiber Cloth | Lifts dust and polishes glass safely without scratching | $8.00 | Clean, lint-free flannel cotton cloth |
| Distilled Water | Dilutes cleaning solutions without leaving mineral deposits | $1.50 | Tap water (filtered if possible) |
| Automotive Screen Cleaner | Breaks down oils safely without stripping anti-glare coatings | $10.00 | 50/50 mix of distilled water and white vinegar |
| Compressed Air Can | Blows loose grit away from bezels and tight corners | $6.00 | Manual rubber dust blower bulb |
Set up your cleaning station inside a shaded vehicle cabin with good interior lighting, such as a dome light or a portable LED work lamp. Park your car in a garage or under a carport to block out wind that could blow dust onto your damp screen while you work. Gather all your materials on the center console before you begin. Inspect your microfiber cloth to make sure it is completely free of trapped dirt particles, hard tags, or abrasive synthetic threads that could scratch the sensitive digital display.
Different automotive displays require customized care based on their build quality and surface treatments. Standard consumer infotainment systems usually feature capacitive glass touchscreens that handle mild cleaners well, though harsh ammonia will still strip their protective layers. In contrast, luxury high-end displays often integrate dual-screen layouts, curved OLED panels, or bonded plastic anti-glare filters that scratch easily under too much pressure. Always check your owner manual before applying any liquid to premium navigation systems to ensure long-term durability.
Step-by-Step Guide to How to Clean Car Touchscreen Without Damage
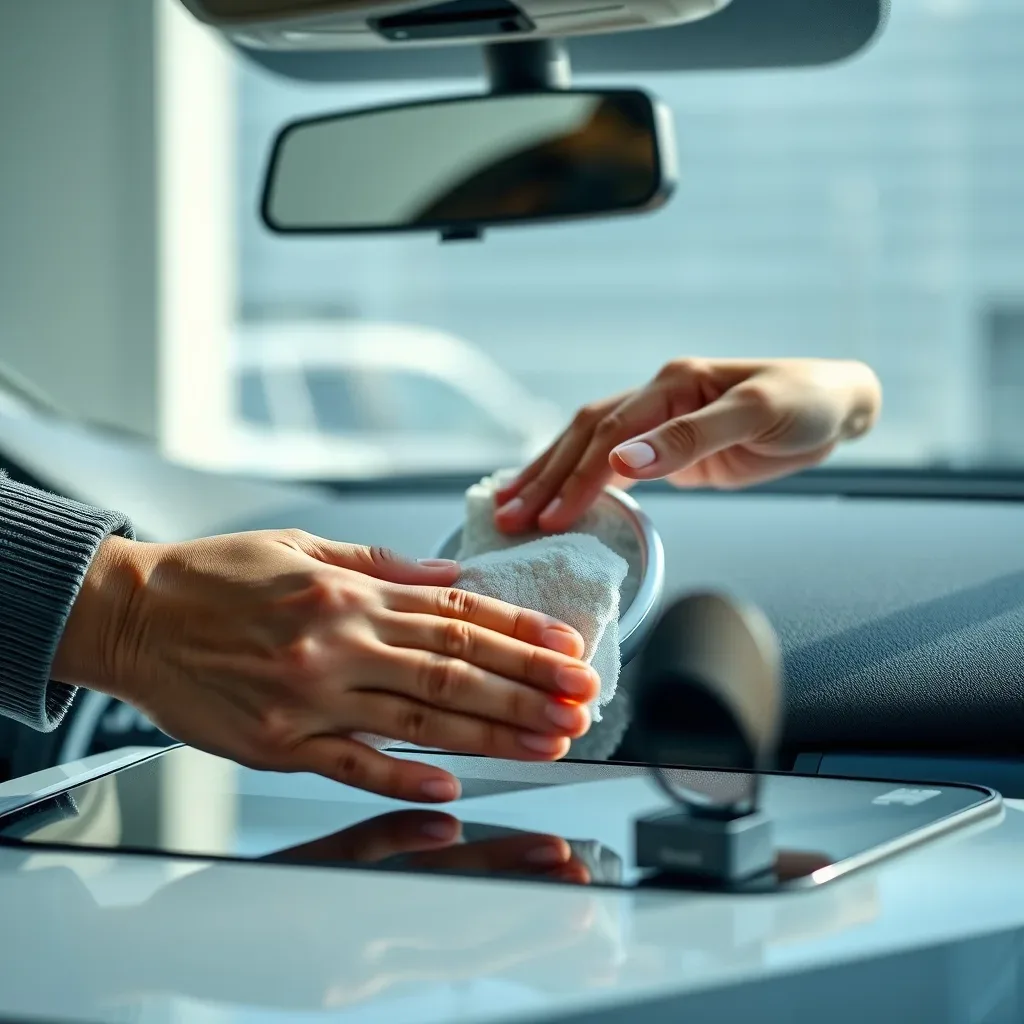
Modern infotainment systems use delicate capacitive or resistive touch panels coated with anti-glare and oleophobic oil-repellent films. Maintaining these displays requires specialized techniques to prevent micro-scratching, chemical etching, or liquid ingress into the bezels. Follow this precise procedure to safely restore visual clarity while protecting your vehicle’s electronic investment.
Turn off the display and ignition system
Power down your vehicle completely and ensure the center console display is off and cool to the touch. Cleaning a warm or powered display makes smudges harder to see and causes liquid cleaners to evaporate prematurely, leaving stubborn mineral streaks. Turning off the screen also prevents accidental activation of climate controls, navigation settings, or audio presets during the process.
Inspect the screen coating and display characteristics
Examine the display panel under indirect lighting to assess fingerprint buildup and surface condition. Manufacturers design these screens to strict product specifications that require careful maintenance. Based on hands-on performance benchmarking of automotive interior surfaces, aggressive house cleaners like window sprays, alcohol mixtures, or acetone will permanently strip anti-glare coatings. Always verify that your cleaning supplies preserve the panel’s factory build quality & durability before proceeding.
Sweep loose dust with a dry microfiber cloth
Select an ultra-soft microfiber towel rated between 300 and 400 GSM (grams per square meter). Gently glide the dry cloth across the panel using light, straight passes to capture loose dust particles and grit. Do not press firmly into the glass during this step, as dragging coarse dust across the surface under pressure causes permanent micro-scratches.
Dampen a fresh microfiber cloth with distilled water
Apply 2 to 3 light mist sprays, approximately 0.03 to 0.05 fluid ounces (1.0 to 1.5 mL), of pure distilled water directly onto a clean corner of your microfiber towel. Never spray liquids directly onto the touchscreen or dashboard surround. Liquid runoff can easily seep behind the display bezel, causing short circuits or touch-matrix failure. If removing oily residue, use a specialized screen cleaner frequently top-rated in an Amazon affiliate review or recommended by your vehicle manufacturer.
Wipe the display panel using light, circular motions
Gently work the dampened microfiber cloth across the screen in small, overlapping circles. Limit applied pressure to less than 0.5 pounds (225 grams) of force to protect the underlying touch-grid sensors. Allow the soft micro-fibers to lift facial oils and fingerprints naturally without scrubbing hard against the glass finish.
Buff the display dry with a fresh cloth section
Immediately flip your microfiber towel to a dry, unused quadrant and wipe away any remaining moisture. Use long, linear strokes from side to side until the panel is entirely streak-free. Check the glass from multiple angles under cabin lighting to ensure no liquid spots or smears remain on the display.
Quality Verification Check
To confirm the display is clean and intact, turn on the ignition and view the screen under direct sunlight. A properly cleaned panel presents a completely streak-free, crystal-clear image with zero rainbow discoloration, no halo effects around digital text, and zero degradation of the factory anti-glare finish.
Store a dedicated touchscreen microfiber towel inside a sealed plastic ziplock bag in your glove compartment. Microfiber towels left loose in a car absorb cabin dust and floating grit from HVAC vents. Using a dirty towel, even a high-end one, acts like fine sandpaper on anti-glare touchscreens during a routine wipe-down.
Troubleshooting Matrix & Common Pitfalls to Avoid
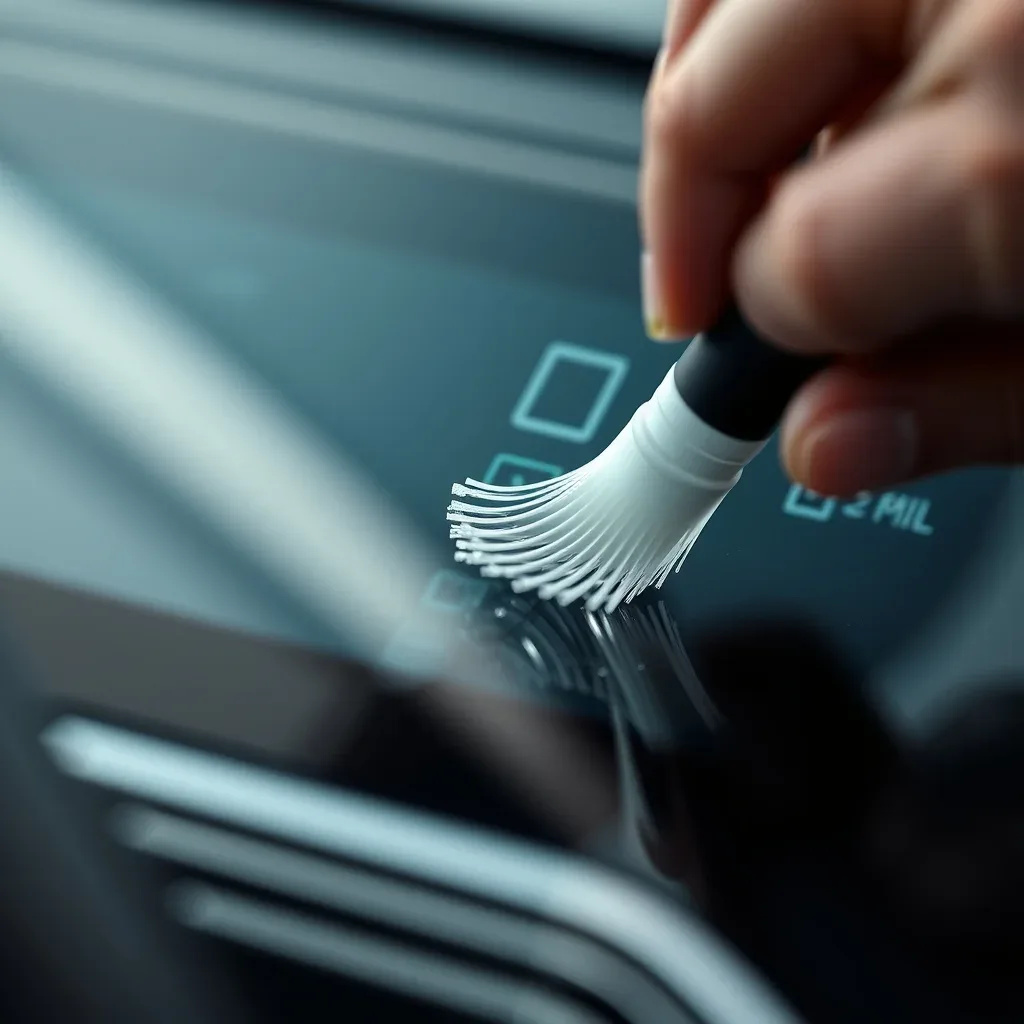
Modern infotainment displays rely on delicate optical coatings and capacitive digitizers. Understanding how to clean car touchscreen without damage requires swift diagnosis when cleaning errors occur. Minor chemical mistakes can degrade screen clarity, while fluid ingress can ruin internal circuitry.
| Symptom / Warning Sign | Probable Root Cause | Immediate Corrective Fix |
|---|---|---|
| Unresponsive display or erratic “ghost” touches | Liquid cleaner seeped behind the bezel and bridged capacitive contact points. | Turn off the vehicle immediately. Do not press the screen. Place a dry microfiber cloth along the bezel seam and aim warm (not hot) air from a vehicle vent or small fan at the edge for 30 minutes to evaporate trapped moisture. |
| Permanent cloudy haze, blue-violet glare, or peeling patches | Chemical stripping of the factory anti-reflective (AR) or oleophobic coating from ammonia, bleach, or high-percentage alcohol. | Stop using all chemical solutions immediately. The coating loss cannot be wiped away; wipe only with dry microfiber. Apply an aftermarket tempered glass screen protector with built-in oleophobic properties to mask the uneven surface and restore optical clarity. |
| Fine spider-web micro-scratches visible under direct sunlight | Dry wiping loose cabin dust or using coarse paper towels, shop rags, or soiled towels. | Inspect your cleaning media. Discard abrasive cloths. For shallow surface marks, apply an automotive-grade screen protector to fill the micro-grooves through its silicone adhesive layer. Never attempt to buff out scratches with abrasive polishes. |
| Streaks, smudges, and oily residue smearing instead of lifting | Saturated microfiber cloth transferring trapped skin oils back onto the screen, or detergent residue left on the fabric. | Switch to a clean, unwashed 300+ GSM microfiber towel dampened slightly with distilled water. Wipe in a single horizontal direction, then flip to a dry section of the cloth to buff away residual moisture. |
| Display flickers, dims, or shuts down after wet cleaning | Liquid migration through perimeter seams into the LED backlight or ribbon cable connections. | Cut power to the infotainment fuse or disconnect the negative battery terminal. Allow the console to air dry for 24 to 48 hours. If the display fails to revive after a complete dry-out cycle, schedule a diagnostic check with an automotive audio technician. |
- Spraying cleaning fluid directly onto the glass: Liquid runs downward instantly under gravity. It pools in the tiny gap between the screen and dashboard trim. From there, capillary action pulls fluid directly into the digitizer circuits. Always mist your chosen liquid onto a clean microfiber cloth first until it is barely damp to the touch, never dripping wet.
- Using household glass cleaners and harsh solvents: Household products like Windex contain ammonia, while common disinfectant wipes use isopropyl alcohol concentrations above 70 percent. These chemicals dissolve the factory anti-glare and fingerprint-resistant coatings within seconds. Always check product specifications to ensure a cleaner is 100 percent alcohol-free, ammonia-free, and safe for sensitive optical plastics before purchase.
- Dry wiping dust and gritty debris: Dashboard dust often contains hard silica particles, quartz sand, and road grit. Wiping a dry cloth across a dusty screen drags these abrasive minerals across the surface like sandpaper. Always blow loose dust off first with a rubber air bulb or lightly lift it away using an ultra-plush, clean towel before applying any wiping pressure.
- Trusting unverified ratings over lab performance benchmarking: Many online shoppers read a quick Amazon affiliate review and buy cheap multi-surface interior sprays that claim to clean everything from vinyl to LCD panels. Multi-surface cleaners often leave behind silicone dressing oils that destroy optical responsiveness. Evaluate cleaner build quality & durability by looking for dedicated optical-grade formulas verified for navigation units and avionics.
- Wiping hot screens under direct sunlight: Cleaning an infotainment panel that has been baking in the sun causes liquids to flash-dry within seconds. This rapid evaporation leaves stubborn surfactant rings and mineral streaks baked onto the finish. Park the vehicle in the shade, turn off the engine, and allow the center console to cool down to ambient cabin temperature before starting your cleaning routine.
Decision Guide & Cost Analysis: DIY vs. Replacement / Professional Service
Navigating the care of your vehicle’s infotainment system requires knowing where quick maintenance ends and serious hardware repair begins. Understanding How To Clean Car Touchscreen Without Damage ensures you maintain optical clarity and surface integrity without voiding vehicle coverage or ruining expensive display panels.
Safe Self-Resolution and DIY Scope
Routine cosmetic maintenance is safe for any vehicle owner to handle at home. The everyday build-up of fingerprints, light dust, skin oils, and minor makeup residue on your display surface can be safely cleared using simple materials. When reviewing product specifications for display care products, standard maintenance involves soft microfiber cloths and dedicated screen solutions formulated without aggressive solvents, ammonia, or alcohol.
If your display responds accurately to touch inputs and shows sharp graphics without visual distortion beneath the top glass, self-resolution is the most practical choice. Regular gentleness preserves the original build quality and durability of factory anti-glare and oleophobic coatings, keeping display clarity at peak performance benchmarking without incurring professional service costs.
When to Escalate: Hardware Replacement, Warranty RMA, or Professional Service
Certain display defects go beyond surface contamination and point to hardware failure or permanent physical breakdown. If your screen exhibits delamination, where the bonded internal layers separate, creating dark spots, sticky internal air pockets, or spiderweb patterns, wiping the surface will not resolve the problem. Escalation is also necessary if you experience phantom touches, completely unresponsive digitizers, cracked glass, or permanently etched patches caused by prior use of harsh household chemicals.
Modern infotainment displays connect directly to central vehicle control modules and sensitive wiring harnesses. While researching an Amazon affiliate review for aftermarket head units or replacement digitizer glass might make a repair look simple, dashboard disassembly carries real risks. If the fix requires removing dash trim panels, splicing electrical connections, or replacing the sealed liquid crystal unit, an untrained owner should stop and consult a dealership for warranty replacement (RMA) or hire a certified automotive technician to prevent electrical short circuits and broken trim clips.
| Decision Factor | Self-Resolution / DIY | Escalation / Replacement / Pro Service |
|---|---|---|
| Typical Time Required | 5 to 10 minutes | 1 to 3 hours (excluding dealership wait times) |
| Estimated Cost Range (in USD) | $10 – $25 | $200 – $1,500+ |
| Skill Level Required | Beginner / No specialized knowledge | Intermediate to Advanced Automotive Electrical Technician |
| Equipment Needed | 70/30 plush microfiber towels, screen-safe cleaning spray, distilled water | Automotive trim removal tools, socket sets, replacement display assembly, diagnostic scanner |
| Risk Level | Very Low (when using proper screen-safe fluids) | Moderate to High (risk of cracking dash trim, shorting electrical modules, or voiding vehicle warranty) |
Frequently Asked Questions
Can I use household glass cleaners like Windex on my car touchscreen?
No, you should never use household glass cleaners because they contain ammonia and alcohol that destroy delicate anti-glare coatings. These aggressive chemicals break down the factory top layer, leading to permanent clouding or peeling. Sticking to mild automotive-specific formulas or simple distilled water is essential when learning how to clean car touchscreen without damage.
Is it safe to use isopropyl alcohol wipes on an infotainment display?
High-concentration isopropyl alcohol wipes can rapidly strip the anti-fingerprint oleophobic coating from modern displays. If you must sanitize the surface, use a dilute solution under seventy percent that is lightly sprayed onto a cloth rather than applied directly. Preserving the screen’s surface treatment maintains long-term Build Quality & Durability.
How do I remove stubborn, dried liquid spots without scratching the glass?
Hold a warm, slightly damp microfiber cloth over the sticky spot for roughly thirty seconds to soften the contaminant. Once softened, gently wipe the area using minimal pressure with a fresh, clean side of the towel. Never use fingernails, plastic scrapers, or rough paper towels, as these will gouge the display surface.
What microfiber cloth density is best for sensitive vehicle screens?
Based on automotive detailing Performance Benchmarking, split-weave microfiber cloths rated between three hundred and four hundred grams per square meter offer the ideal balance of softness and dust collection. Reviewing towel Product Specifications ensures you select an edgeless design that will not snag or scratch delicate capacitive touch surfaces.
Does installing a screen protector reduce touch sensitivity?
High-quality tempered glass or matte PET film protectors engineered for specific car models preserve full capacitive touch responsiveness. Reading a trusted Amazon Affiliate Review can help you locate custom-fit protectors that feature anti-glare properties without reducing display clarity or responsiveness.
Should the car screen be turned off while I clean it?
Yes, you should always power down the vehicle and allow the display screen to cool completely before wiping it down. A dark screen makes oils, dust, and smudges significantly easier to see, while preventing unintended menu navigation or electrical issues along the bezel.
Preventative Care & Long-Term Maintenance Schedule
Establishing a regular care routine keeps your vehicle’s central display clear, responsive, and free from permanent wear. Follow this structured schedule to protect your digital interface year-round:
- Weekly Routine Care: Perform a quick dry dust using an edgeless microfiber cloth to