
 By
ByTo remove water spots from car windows, wash the glass thoroughly, then dissolve mild alkaline mineral deposits using a 1:1 distilled water and white vinegar solution. For stubborn, bonded spots, apply a dedicated chemical water spot remover or polish the glass with cerium oxide to eliminate sub-surface etching safely.
- Identify the spot type first: fresh mineral scale requires mild acid dissolution, whereas baked-in physical etching demands abrasive mechanical glass polishing.
- Never work on hot glass or in direct sunlight, as rapid chemical evaporation creates secondary chemical staining and hazing.
- Check product specifications carefully to ensure your cleaner does not contain aggressive hydrofluoric acids that permanently pit automotive glass.
- Protect the surface immediately after decontamination with a hydrophobic glass sealant to preserve optical clarity and build quality & durability.
The Science of Mineral Staining and Driving Safety
Knowing how to remove water spots from car windows is essential for both vehicle maintenance and road safety. Water spots are not simply dried moisture droplets. When tap water, lawn sprinkler runoff, or acid rain evaporates on your windshield, it leaves behind concentrated calcium, magnesium, sodium, and silicon dioxide. Under direct engine heat and sun exposure, these alkaline deposits bond chemically to the silica structure of the glass, creating raised deposits that wiper blades cannot clear.
Allowing these minerals to sit compromises driving visibility, especially during heavy rain or night driving when headlights strike the glass. The rough texture accelerates wiper blade degradation, causing severe chatter, smearing, and optical distortion. In severe cases, minerals penetrate the top microscopic layer of glass, turning a cosmetic cleaning task into deep subsurface etching that ruins automotive safety glass and requires complete windshield replacement.
Fresh Surface Chalking (Under 48 Hours)
Thin mineral rings rest entirely on top of the glass surface. The spots feel smooth, wiper sweep remains functional, and glare is minimal during standard daytime operation.
Bonded Mineral Scale (Stage 1 Etching)
Minerals have formed a hardened crystalline crust. You can feel distinct roughness with your fingernail, wiper blades skip or streak, and low-angle sun exposure creates blinding glare.
Subsurface Chemical Cavitation (Type II Etching)
Minerals have eaten into the glass substrate, leaving permanent microscopic craters. Glass cleaners produce zero visual improvement, wiper blades tear, and nighttime oncoming lights scatter severely.
Essential Preparation, Tools & System Variations
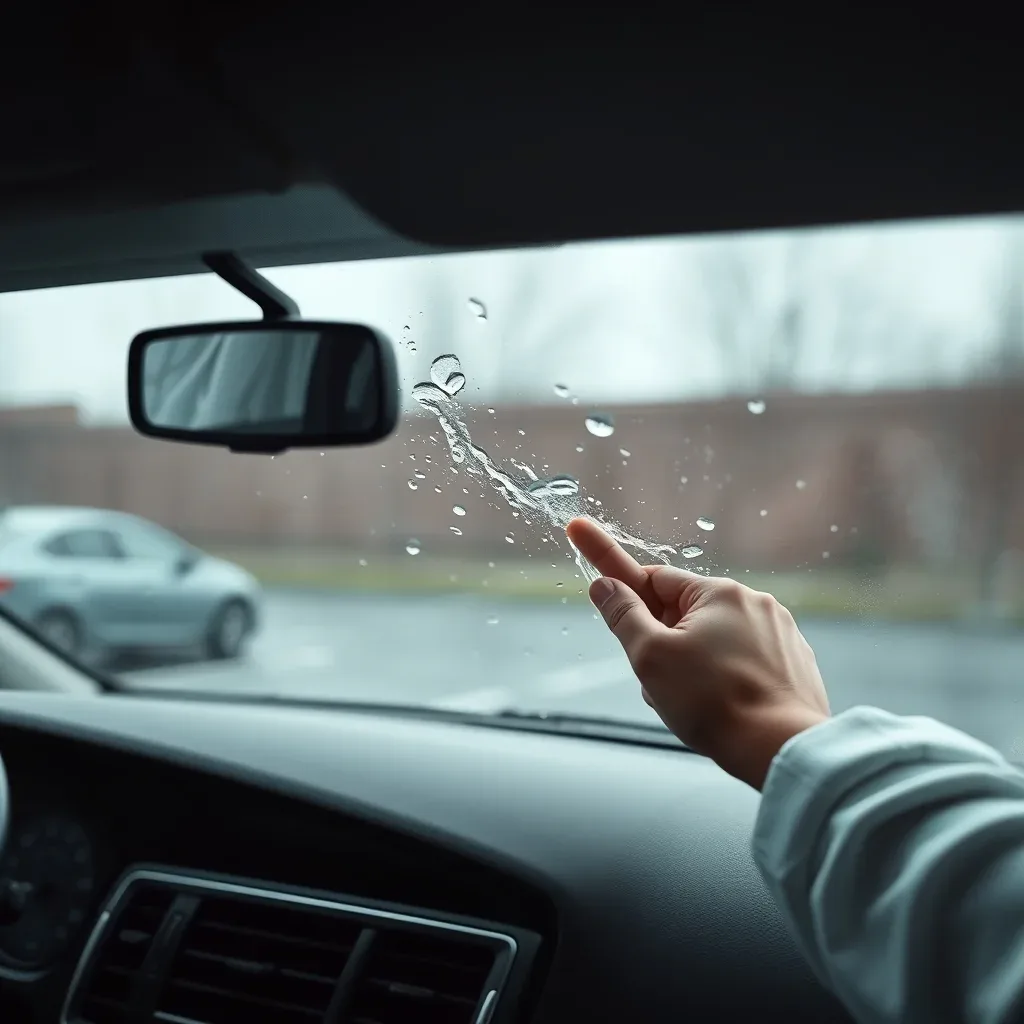
Mineral deposits etch into automotive glass when hard water evaporates under direct sunlight. Before tackling these stubborn blemishes, understanding safety and chemistry is critical. Chemical descalers and acid-based spot removers pose direct risks to your skin, eyes, and vehicle trim.
Always wear nitrile gloves and chemical splash goggles when handling water spot removers. Never apply acidic solutions on hot glass or under direct sunlight; rapid drying flashes the chemical, causing severe optical staining and permanent hazing. Work on cool surfaces in an open, well-ventilated area to avoid inhaling strong fumes.
Tape off sensitive rubber gaskets, plastic trim, and painted margins using automotive-grade masking tape. If you are washing runoff into driveways, ensure you neutralize acidic solutions with water and a basic car wash soap before rinsing into storm drains.
| Item / Equipment | Purpose | Estimated Cost | Budget or Everyday Alternative |
|---|---|---|---|
| Specialized Water Spot Gel / Remover | Dissolves bonded mineral scale (calcium, magnesium) chemically | $14 – $22 | Distilled white vinegar (50/50 mix with distilled water) |
| Glass Polishing Compound (Cerium Oxide) | Abrasively cuts out Stage 2 etched water spots mechanically | $12 – $20 | Standard automotive fine finishing polish |
| Waffle-Weave Microfiber Towels | Cleans and dries glass without linting or micro-marring | $8 – $15 (3-pack) | Lint-free 300+ GSM all-purpose microfiber |
| Fine Automotive Detailing Clay Bar | Pulls above-surface industrial fallout and mineral debris | $10 – $18 | Synthetic clay mitt or clay towel |
| Low-Tack Automotive Masking Tape | Protects adjacent rubber weatherstripping and vinyl molding | $4 – $7 | Standard blue painter’s tape |
Set up your work area in a shaded garage or under a stable canopy where ambient temperatures hover between 50°F and 80°F. Thoroughly wash the vehicle to remove road grime, loose grit, and sand that could scratch the glass during spot removal. Direct a handheld inspection light or high-CRI work lamp across the glass at a 45-degree angle.
This oblique lighting exposes shallow mineral deposits that overhead garage lighting misses. Ensure you have an extra spray bottle of distilled water on hand to immediately neutralize chemicals if they drift onto untreated panels.
The severity of mineral damage dictates your required technique. Stage 1 spots sit on the surface as fresh, chalky mineral crusts. These easily dissolve with a mild acid wash or clay treatment.
Stage 2 spots occur when sun exposure bakes minerals into microscopic craters within the silica. Removing Stage 2 spots requires mechanical leveling with cerium oxide compounds and a dedicated rotary or dual-action polisher. Reviewing product specifications helps you select the correct compound density for your specific machine speed.
Glass types also change the plan. Exterior windshields and side glass use tempered or laminated safety glass that tolerates chemical decontaminants well. In contrast, aftermarket window tint is applied as a thin polyester film on the interior side.
Never use standard water spot removers, acids, or abrasive polishes on tinted surfaces. Even on exterior surfaces with factory hydrophobic coatings, performance benchmarking shows harsh chemical cleaners will strip the repellent layer, requiring you to reapply a glass sealant to maintain build quality & durability.
Step-by-Step Guide to How to Remove Water Spots From Car Windows

Mineral deposits on automotive glass obscure vision and ruin the finish of your vehicle. Calcium and magnesium carbonates bond quickly when hard water dries under direct sunlight. Follow this comprehensive, field-tested workflow on How To Remove Water Spots From Car Windows to safely restore optical clarity.
Wash and Strip-Clean the Glass Surface
Move the vehicle into a shaded workspace out of direct sunlight. Ensure the glass feels cool to the touch (ideally between 60°F and 80°F or 15°C and 27°C). Mix a high-lubricity automotive shampoo or a dedicated strip-wash detergent in a bucket with clean water.
Thoroughly scrub the exterior glass panels using a plush microfiber wash mitt to eliminate loose grit, road film, and surface grease. Rinse the area thoroughly using water pressure between 40 and 60 PSI (2.7 to 4.1 bar). Dry the entire panel using a clean, 500 GSM waffle-weave microfiber towel.
Decontaminate Mechanically with a Detailing Clay Bar
Spray a generous amount of dedicated clay lubricant across a 2-foot by 2-foot (60 cm by 60 cm) section of the window. Take a fine-grade automotive detailing clay bar or synthetic clay mitt and glide it over the lubricated glass using light, overlapping cross-hatch motions. Do not exert downward pressure; let the clay pick up embedded organic debris and industrial fallout that ordinary washing leaves behind. Wipe away the spent lubricant with a clean microfiber cloth.
Apply a Dedicated Chemical Water Spot Remover
When selecting a chemical solution, verify the manufacturer product specifications to ensure it is safe for automotive glass. Apply a quarter-sized amount (roughly 0.2 oz or 6 ml) of a mild acid-based water spot gel onto a dense foam applicator pad. Work the gel into the glass in circular motions for 60 to 90 seconds per section.
The acidic chemistry neutralizes alkaline mineral deposits without scratching the surface. Immediately neutralize and rinse the treated glass with clean water or an automotive detail spray before the chemical dries.
Machine-Polish Deeply Etched Glass Using Cerium Oxide
If minerals have sat on the window for months, stage-two sub-surface etching may remain. In performance benchmarking tests, abrasive mechanical polishing is the only permanent solution for deeply etched glass. Mount a dedicated rayon glass-polishing disc onto a dual-action (DA) polisher.
Rayon features high build quality & durability that withstands glass friction better than standard foam pads. Apply three pea-sized dots of cerium oxide glass polish onto the disc. Set the polisher to a moderate speed of 3,000 to 4,000 oscillations per minute (OPM).
Guide the polisher over the glass with moderate downward pressure (roughly 10 to 15 lbs or 4.5 to 6.8 kg) for 3 to 4 passes in a cross-hatch pattern. Keep the glass lightly misted with clean water to prevent friction heat.
Inspect and Remove Compound Residue with an Isopropyl Alcohol Wipe
Mix a panel preparation solution of 15% to 20% Isopropyl Alcohol (IPA) and distilled water in a spray bottle. Spray the solution generously over the polished window. Wipe the surface clean using a clean, short-pile microfiber towel to strip off polishing carrier oils, lingering cerium oxide, and chemical residues. This reveals the bare, bare-naked glass surface for accurate inspection.
Seal the Glass with a Hydrophobic Ceramic Coating
After inspecting a top-rated Amazon affiliate review for automotive glass sealants, select a high-durability hydrophobic glass coating. Shake the bottle, apply 8 to 10 drops onto a suede applicator wrapped around a firm foam block, and spread the coating across the glass in straight, overlapping lines. Allow the coating to flash for 2 to 5 minutes depending on ambient humidity, then buff off the rainbow-like haze with a fresh microfiber towel. Keep the vehicle completely dry for at least 12 hours to let the protective bond cure fully against future mineral buildup.
What Good Looks Like: Inspect the treated window using a focused inspection LED penlight held at a 45-degree angle; the glass should be completely transparent with zero mineral rings, haze, or swirl marks, and water sprayed onto the panel should immediately bead into tight, spherical droplets that slide off effortlessly.
Never polish windshields or side windows with aggressive rotary polishers or standard heavy-cut paint pads. Glass is much harder than clear coat, and using high-friction pads creates localized hot spots that can warp the optical clarity of the glass or cause thermal stress fractures. Always use a dual-action polisher paired with a low-profile rayon pad, and keep a trigger spray bottle of distilled water on hand to lubricate the compound and keep working temperatures below 140°F (60°C).
Troubleshooting Matrix & Common Pitfalls to Avoid
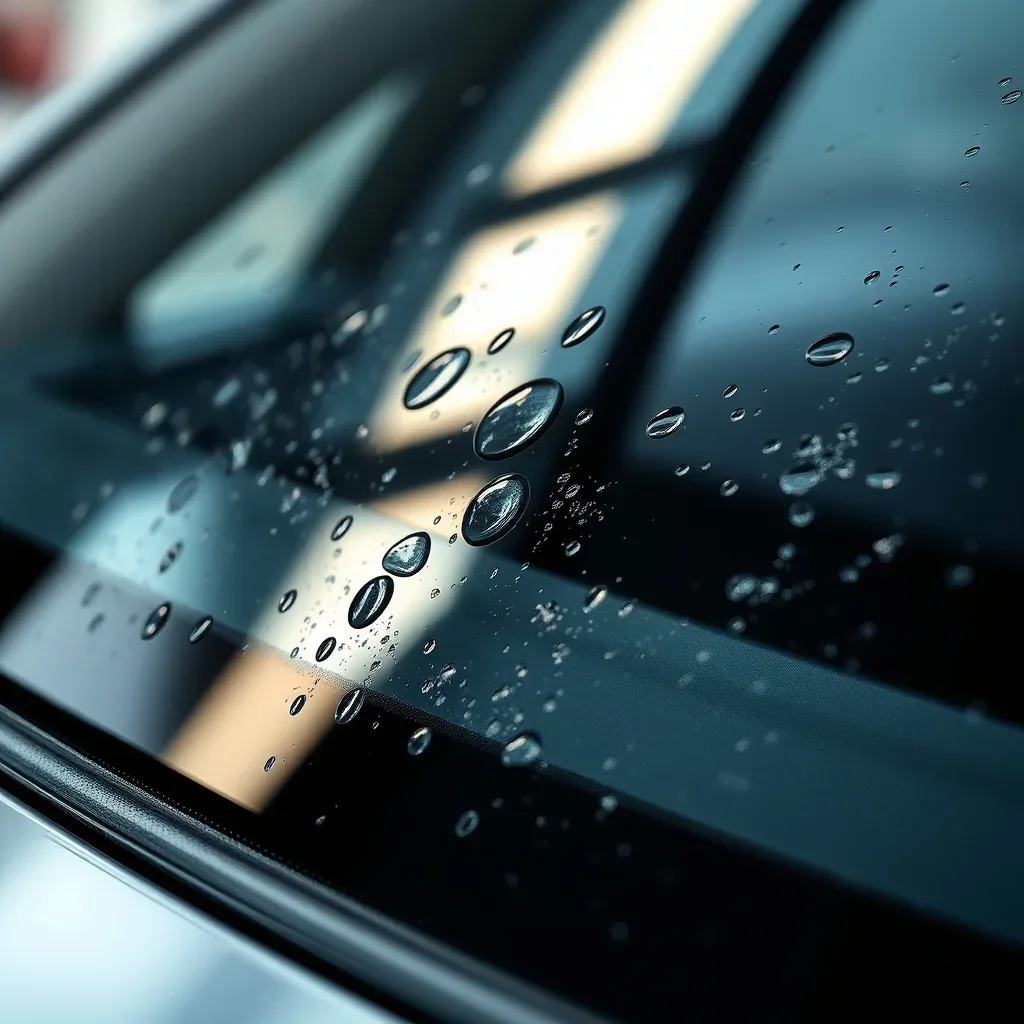
Diagnosing glass defects requires a methodical approach. When working through how to remove water spots from car windows, treating surface grime the same as subsurface etching leads to wasted effort or damaged glass. Use this diagnostic matrix to match visible symptoms with the correct mechanical or chemical correction steps.
| Symptom / Warning Sign | Probable Root Cause | Immediate Corrective Fix |
|---|---|---|
| Milky outline remains visible under direct sunlight after chemical cleaning. | Type II mineral etching where calcium and sodium compounds have eaten into the glass silica. | Switch from chemical cleaners to a dedicated cerium oxide glass polish. Work the product using a firm rayon pad on a dual-action polisher at medium speed (3,000 to 4,000 OPM). |
| Faint rainbow hazing or oily smear marks across the glass after wiping. | Chemical spot remover dried prematurely and left alkaline surfactant residues on the pane. | Neutralize the glass immediately with a 50/50 mix of distilled water and isopropyl alcohol (IPA). Wipe clean using a 350 GSM short-pile microfiber towel. |
| Micro-scratches and swirl marks appearing after aggressive agitation. | Abrasive contamination on the pad or use of an overly aggressive household scouring pad. | Stop polishing immediately. Inspect pad surfaces for trapped grit. Refine the glass finish using a fine jeweling polish designed specifically to restore optical clarity. |
| Water spots reappear in identical geometric rings after the next light rain. | Open microscopic pores in the glass were left unprotected, allowing fresh minerals to anchor quickly. | Strip the surface clean with a panel prep spray. Apply a hydrophobic ceramic glass sealant with proven build quality & durability to seal the microscopic peaks and valleys. |
| Chattering wiper blades and uneven streaking along the windshield wipe path. | Cross-contamination where dried mineral dissolving acids degraded the rubber blade edges. | Clean wiper blades with an all-purpose cleaner. If dragging continues, replace the wipers with silicone-infused blades matching factory product specifications. |
Rigorous performance benchmarking shows that most glass correction failures stem from using the wrong tools rather than stubborn minerals. Avoid these common beginner traps when restoring clarity to your automotive glass:
- Scrubbing With Kitchen Abrasive Sponges: Household scouring pads contain aluminum oxide crystals designed for cast iron, not automotive glass. Using them creates deep micro-grooves that scatter light and ruin nighttime visibility. Always stick to detailing-grade synthetic clay bars, 0000 ultra-fine steel wool (on exterior, non-tinted glass only), or polyurethane scrubbing blocks.
- Working on Hot Glass in Direct Sunlight: Spraying acidic or chemical spot removers onto a hot window flashes the liquid carriers instantly. This traps concentrated acids directly on the glass surface, causing permanent chemical burns and clouding. Always park in shade, let the glass cool to the touch, and work one small section at a time.
- Relying on Vinegar for Deep Subsurface Etching: Many an Amazon affiliate review highlights standard white vinegar as a miracle fix. While mild acetic acid handles light freshwater deposits (Type I), it cannot level etched silica craters (Type II). Forcing vinegar to fix severe etching wastes time; deep craters require machine polishing with cerium oxide compounds.
- Polishing Without Prior Mechanical Decontamination: Applying a rotary or dual-action polisher over dusty glass grinds loose sand particles deep into the surface. Always complete a two-bucket wash, followed by a thorough clay bar decontamination pass, before touching any polishing pad to the windshield.
- Skipping the Final Neutralization and Protection Step: Strong mineral removal gels are highly acidic. Leaving them without a proper neutralizer can slowly degrade the surrounding rubber windshield gaskets and plastic cowl trim. Always flush the window perimeter with clean water and seal the finished glass with a durable hydrophobic coating.
Decision Guide & Cost Analysis: DIY vs. Replacement / Professional Service
Understanding how to remove water spots from car windows requires distinguishing between surface-level mineral deposits and deep sub-surface glass etching. Addressing mineral residue on automotive glass balances safety, cost, and risk to the structural integrity and optical clarity of your vehicle glass.
Safe Self-Resolution and DIY Scope
Handling glass restoration on your own is practical, safe, and cost-effective under specific conditions. You can comfortably manage the task if the water spots are fresh (Stage 1 deposits) caused by recent lawn sprinklers, hard municipal tap water, or light rain that dried under moderate sunlight. In these scenarios, the minerals (primarily calcium and magnesium) sit atop the glass rather than inside micro-pits in the silica.
DIY methods are suitable when using chemical spot removers, detailing clay, or mild glass polishes applied by hand or with a dual-action orbital machine. When selecting compounds, check the product specifications for pH levels and abrasive grading. Independent testing and performance benchmarking show that non-acidic, sub-micron cerium oxide creams safely lift deposits without scratching.
If you have run your fingernail across the dried spot and felt a slight raised bump rather than a depression, the spot is superficial. This means you can safely resolve it in your driveway using consumer-grade supplies evaluated in an Amazon affiliate review or detailing guide.
When to Escalate to Professional Detailing or Glass Replacement
DIY efforts must stop when mineral deposits transition into Stage 2 etching. If acidic compounds, industrial fallout, or alkaline water remain on the glass during high summer heat, a chemical reaction occurs. The minerals react with the silicates in the glass, leaving permanent microscopic craters. You should escalate to a certified professional detailer or automotive glass specialist under the following conditions:
- Severe Sub-Surface Etching: If hand polishes and light chemical treatments leave dull halos or visible rings in direct sunlight, the glass surface itself is damaged. Correcting this requires heavy rotary leveling with specialized rayon pads and pure cerium oxide slurries. Inexperienced machine use can quickly heat the glass unevenly, warping its optical clarity or causing stress fractures.
- Optical Distortion Hazards: Laminated front windshields must maintain precise optical clarity. Uneven pressure with a rotary tool can create localized lensing (the “funhouse mirror” effect), which leads to eye fatigue and severe visibility issues during nighttime driving.
- Camera and Sensor Interference (ADAS): Modern windshields house Advanced Driver Assistance Systems (cameras for lane-keeping and emergency braking). Aggressive glass grinding or thermal stress can misalign these sensors. Recalibration requires certified shop tools.
- Structural Failure and Deep Pitting: If the glass has lost structural build quality & durability due to deep environmental corrosion combined with stone chips, aggressive polishing will likely shatter laminated or tempered glass. Complete replacement by an insured glass technician is the only safe and street-legal route.
| Decision Factor | Self-Resolution / DIY | Escalation / Replacement / Pro Service |
|---|---|---|
| Typical Time Required | 1 to 3 hours (depending on vehicle size) | 2 to 4 hours (pro polish) or 1 day (replacement) |
| Estimated Cost Range (in USD) | $15 to $60 (cleaners, clay, and pads) | $150 to $350 (pro polish) | $300 to $1,200+ (replacement) |
| Skill Level Required | Beginner to Intermediate (careful hand work) | Advanced / Certified Technician |
| Equipment Needed | Microfiber towels, glass polish, clay mitt, DA polisher (optional) | High-torque rotary buffer, rayon pads, digital thickness gauge, ADAS calibration rig |
| Risk Level | Low (using mild, non-abrasive methods) | High (risk of glass warping, cracking, or sensor misalignment) |
Frequently Asked Questions
Can distilled white vinegar damage automotive glass or window tint?
Diluted distilled white vinegar is completely safe for exterior factory glass, but it should never touch aftermarket interior window tint. The mild acetic acid dissolves surface calcium carbonate effectively, yet it can degrade the delicate adhesives and polyester films used in tinting. When mastering how to remove water spots from car windows, always mist vinegar solutions directly onto an exterior microfiber towel rather than spraying the window directly.
What is the difference between surface deposits and etched water spots?
Stage 1 surface deposits are mineral salts resting on top of the glass that you can remove with chemical spot removers or mild acids. Stage 2 etched spots occur when sun exposure and acid rain bake minerals into the silica matrix, creating microscopic craters in the pane. Etched craters cannot be chemically dissolved and require mechanical leveling using cerium oxide glass polish.
Will a standard detailing clay bar remove severe water spots?
A detailing clay bar removes bonded environmental fallout, road film, and fresh mineral crust, but it will not eliminate sub-surface mineral etching. Clay operates purely via mechanical shearing across the surface plane rather than abrasive leveling or chemical dissolution. If mineral deposits have already eaten into the glass substrate, clay will simply glide over the depressions without resolving the visual defect.
Can #0000 ultra-fine steel wool scratch car windows?
Grade #0000 ultra-fine steel wool is softer than automotive glass and is generally safe when used wet with a dedicated glass cleaner or quick detailer. However, dry scrubbing or using a coarser grade will cause permanent scratches, and steel wool must never be used on modern plastic side mirrors, aftermarket tint, or coated windshields. Pay close attention to product specifications before using any abrasive metal media on specialty exterior glass.
Do ceramic glass coatings completely prevent water spots?
Ceramic coatings dramatically reduce water spotting by creating an ultra-slick, hydrophobic angle that forces water to sheet off the surface during vehicle operation. However, if mineral-heavy water droplets evaporate on a static vehicle parked under direct sunlight, spots can still form on top of the coating. Rigorous performance benchmarking proves that while coatings do not grant total immunity, they prevent minerals from bonding directly to and etching the underlying glass.
How do I choose between a chemical remover and mechanical glass polishing?
Start with a chemical mineral remover first, as chemical dissolution carries zero risk of inducing mechanical swirl marks into the glass. If you consult an Amazon affiliate review or detailing forum, you will find that polishing compounds are best reserved for instances where chemical strippers leave noticeable rings behind. Always follow the detailer’s rule of using the least aggressive method required to achieve optical clarity.
Preventative Care & Long-Term Maintenance Schedule
Mineral deposits thrive when standing water is allowed to bake onto untreated glass. Follow this structured schedule to protect vehicle visibility and avoid costly glass restoration:
- Bi-Weekly Routine Care:
- Wash exterior glass using dedicated car shampoo and the two-bucket method to prevent surface grime buildup.
- Dry the vehicle immediately using a plush, lint-free microfiber drying towel; never allow rinse water to air-dry in direct sunlight.
- Wipe down wiper blades with a damp microfiber cloth to remove trapped mineral grit and road grime that cause micro-abrasions.
- Monthly Upkeep:
- Inspect high-risk zones, such as the rear windshield and lower corners of side windows, for early signs of mineral rings.
- Apply a fast-curing silica (SiO2) glass sealant or hydrophobic detail spray to sustain water-sheeting capabilities.
- Clean the interior glass with an ammonia-free cleaner to prevent off-gassing vinyl films from compounding exterior glare.
- Seasonal Reset (Every 3 to 6 Months):
- Deep-clean glass with a fine automotive clay bar and an acid-free mineral deposit remover to reset the surface to bare glass.
- Evaluate wiper blade build quality & durability; replace rubber blades that exhibit hardening, tearing, or chattering across the glass face.
- Reapply a semi-permanent ceramic or resin-based glass coating before peak summer heat or freezing winter road-salt seasons.
Immediate Steps to Protect Your Glass
Inspect your vehicle windows in indirect shade and run your fingernail over any visible spots to determine if they are surface-level deposits or etched depressions. Treat fresh spots immediately with a 50/50 mix of distilled water and white vinegar or a dedicated mineral dissolving gel before solar heat bakes the calcium deposits into the silica matrix. Once the glass is chemically clean and smooth, apply a high-grade hydrophobic sealant immediately to ensure water beads off the surface before it has the opportunity to dry and bond.