
 By
ByTo stop a dash cam from draining your car battery, install a hardwire kit equipped with a built-in low voltage cut-off. This device automatically shuts down the camera when your vehicle battery voltage drops below a safe threshold, preserving enough power to start your engine.
- Cigarette lighter sockets in many modern vehicles stay powered even after the engine turns off, leaving the camera recording indefinitely.
- Using a dedicated hardwire kit replaces temporary 12V plugs and allows you to manage continuous power safely.
- A low voltage cut-off prevents your car battery from deep discharge cycles that permanently shorten its overall lifespan.
- Configuring parking mode correctly ensures your vehicle remains secure without sacrificing electrical system health.
Leaving an accessory plugged into your electrical system overnight creates a silent power draw that quietly depletes your car battery. A standard dash cam draws a steady stream of current to maintain standby or active surveillance states. When your alternator stops running, the entire electrical load falls exclusively on the starting battery. Over a span of several days, this continuous drain eats away at your reserve capacity.
Understanding the balance between vehicle security and electrical preservation prevents unexpected dead batteries and costly service calls. When a lead-acid battery repeatedly drops below its safe resting voltage, chemical sulfation builds up on the internal plates. This process degrades the storage capacity permanently. Proper installation safeguards your investment in both your recording hardware and your vehicle.
Battery Voltage Above 12.4V
Your car battery holds a healthy charge. The dash cam runs safely in parking mode without risking your ability to start the engine.
Battery Voltage Between 12.0V and 12.2V
The battery is showing moderate fatigue. Cranking the engine may feel slightly sluggish on cold mornings, indicating reduced reserve power.
Battery Voltage Below 11.8V
Deep discharge state. The battery lacks sufficient power to crank the starter motor, and internal lead plates suffer permanent chemical damage.
Essential Preparation, Safety Rules, and Compatibility Checks
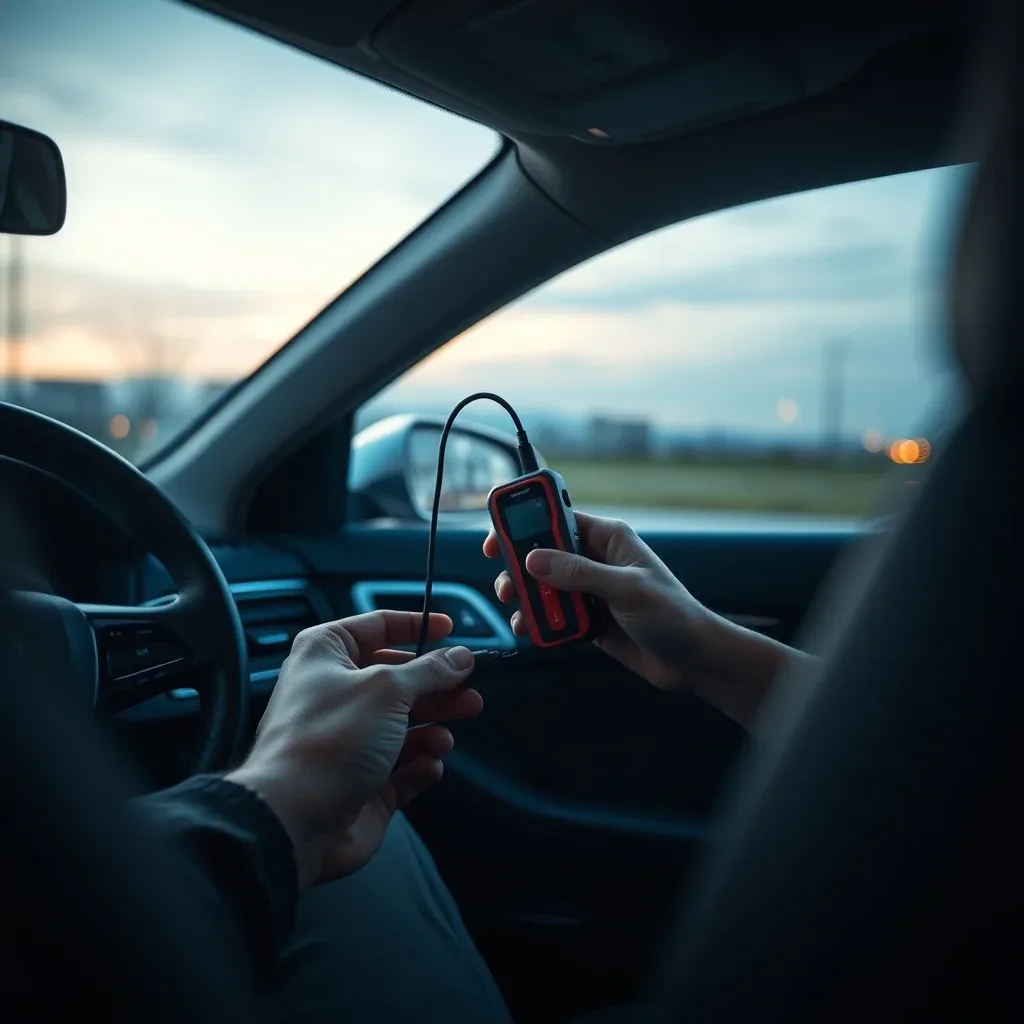
Before you try to stop a dash cam from draining the car battery, you must check your vehicle compatibility and review your equipment settings. Start by checking your car owner manual to locate your interior fuse box and confirm your vehicle electrical voltage. Most standard cars use a 12-volt system, but some larger trucks and electric vehicles handle power differently. Review your specific Dash Cam user manual to check its power draw specifications when running in standard recording mode versus standby. Next, verify that your hardware and software are fully up to date. Check that your Hardwire Kit matches the specific power requirements of your camera brand. Before working on any vehicle electronics, turn off the ignition completely and take the keys out of the ignition switch to prevent accidental electrical shorts. Clean your workspace and make sure your work area is well-lit so you can see the fuse slots clearly without straining your eyes.Required Tools, Materials, and Budget Alternatives
| Item / Equipment | Purpose | Estimated Cost | Budget or Everyday Alternative |
|---|---|---|---|
| Digital Multimeter | To test fuse slot voltage and verify continuous versus switched power sources. | $15 – $30 | Basic continuity tester or test light. |
| Hardwire Kit | Connects the camera directly to the fuse box and enables the Low Voltage Cut-Off feature. | $20 – $35 | Standard 12V cigarette lighter plug with manual unplugging habits. |
| Add-A-Fuse Tap | Allows safe connection of the hardwire kit into an existing fuse slot without cutting wires. | $5 – $10 | Splicing directly into factory wires (not recommended). |
| Trim Removal Tool | Safely tucks power cables behind vehicle panels and headliners without damage. | $8 – $15 | Clean plastic loyalty card or flat spatula. |
| Wire Strippers | Prepares and strips wire ends for secure crimping and connection. | $10 – $20 | Household utility knife (used with extreme caution). |
Workspace and Vehicle Preparation
Set up your vehicle in a well-ventilated, shaded area like a garage or a driveway during daylight hours so you have plenty of natural or artificial light. Park on a flat surface, engage your parking brake, and roll down the driver window so you can easily reach inside. Gather all your tools, extra fuses, and connection materials on a clean tray or dashboard mat so nothing gets lost on the vehicle floorboards. Clear away any loose items from the footwell and passenger seat to give yourself plenty of room to work comfortably beneath the steering column and dashboard.Stopping a power drain depends heavily on whether your setup uses a basic plug-in adapter or a dedicated hardwire kit. Basic entry-level dash cams usually rely on a standard 12-volt cigarette lighter socket. In many modern cars, these sockets stay powered even after the engine turns off, meaning you must manually unplug the camera every time you park to protect your car battery.
High-end systems rely on a permanent hardwire kit featuring a built-in Low Voltage Cut-Off mechanism. This advanced module monitors your car battery health in real-time while Parking Mode is active. Once the battery drops below a safe voltage threshold, the module cuts all power to the dash cam automatically. This prevents a dead battery while still allowing your camera to watch your vehicle while you are parked.
Step-by-Step Guide to How to Stop a Dash Cam from Draining the Car Battery
Check Your Current Power Source
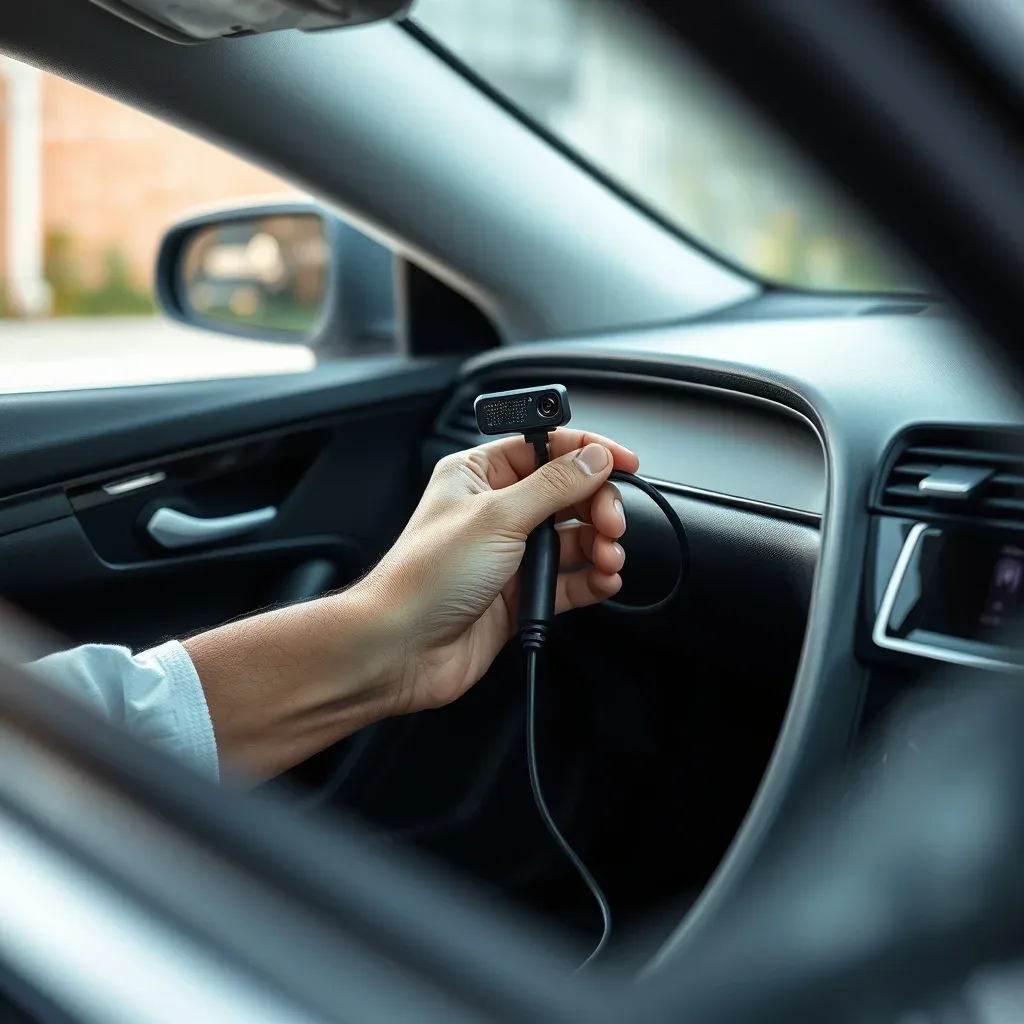
Locate how your dash cam is currently plugged into your vehicle. If the camera is plugged directly into a standard 12-volt cigarette lighter socket that stays powered on even when the ignition is turned off, unplug it. Move the power adapter to a switched outlet that completely cuts power when you remove the key, or plan to transition to a hardwire installation for permanent use.
What Good Looks Like: The dash cam powers down automatically within 10 to 15 seconds of turning off your vehicle ignition and removing the key.
Select a Dedicated Hardwire Kit
Choose a compatible 3-wire hardwire kit designed for your specific dash cam brand. Ensure the kit includes built-in power management features to protect your car battery during long periods of surveillance. A proper hardwire kit bridges your camera directly to your vehicle’s fuse box, allowing safe operation without cluttering your cabin with loose cables.
What Good Looks Like: The hardwire kit box clearly lists hardwire compatibility, an inline fuse holder, and a dedicated control module for voltage regulation.
Install the Hardwire Kit to Constant and Switched Fuses
Connect the ground wire of the hardwire kit to an unpainted metal chassis bolt near the fuse box. Next, use a circuit tester to identify two distinct fuses: one that delivers constant 12V power even when the car is off, and one accessory fuse that only provides power when the ignition is on. Insert the yellow battery wire into the constant fuse slot and the red accessory wire into the switched fuse slot using appropriate add-a-fuse taps.
What Good Looks Like: The dash cam records normally while driving and seamlessly transitions into parking mode once the engine is turned off.
Configure the Low Voltage Cut-Off Settings
Adjust the low voltage cut-off switch or digital menu settings on your hardwire kit or dash cam to protect your vehicle’s car battery. Set the voltage threshold to 12.2V or 12.4V for standard 12-volt lead-acid batteries, or around 11.8V if you operate an AGM battery. This parameter ensures the power supply is cut immediately if the vehicle battery drops below a safe starting threshold, usually within a range of 11.6V to 12.4V (or roughly 11.8V to 12.2V for optimal reserve capacity).
What Good Looks Like: The hardware unit’s indicator light remains illuminated while running, but automatically shuts off the camera the moment the vehicle battery dips below your preset voltage limit.
Expert Pro-TipAlways test your fuse taps with a digital multimeter before buttoning up your vehicle interior trim. Mechanics often mistake an accessory fuse for a constant fuse, which leads to parking mode failing to engage entirely when you leave your car parked overnight.
Verify the Parking Mode Operation and Timing
Turn off your vehicle engine and wait inside the cabin for up to five minutes to observe the transition behavior. Confirm that the dash cam switches from continuous driving recording mode into a low-power parking mode (such as bitrate recording or time-lapse mode) or shuts down completely based on your specific configuration preferences.
What Good Looks Like: The dash cam voice prompt or screen notification announces entry into parking mode, and power draw drops to minimal amperage within two minutes of locking the vehicle doors.
Diagnostic Troubleshooting Matrix

Diagnosing power issues with an in-car camera system requires a systematic approach. Use this matrix to identify symptoms early, understand the underlying mechanical or electrical cause, and apply the correct fix to protect your vehicle from power loss.
| Symptom / Warning Sign | Probable Root Cause | Immediate Corrective Fix |
|---|---|---|
| Slow engine crank or sluggish dashboard lights upon starting the vehicle after overnight parking. | The Dash Cam is recording in continuous Parking Mode without a functioning Hardwire Kit, pulling power straight from the Car Battery until depletion. | Unplug the camera from the cigarette lighter port when parked, or switch the camera’s physical power switch to off until you install a proper hardwire system. |
| The camera turns off immediately when the ignition is turned off, despite being wired directly to the fuse box. | The Hardwire Kit’s constant power wire is plugged into an ignition-switched fuse slot instead of a constant 12V fuse slot. | Relocate the yellow constant power wire to an always-hot fuse slot using a circuit tester to verify constant power delivery. |
| Vehicle battery dies consistently even though the camera is hardwired with a multi-output power controller. | The Low Voltage Cut-Off dial on the hardwire kit is set too low (e.g., 11.8V), allowing the battery to drain past the threshold required to start the engine. | Adjust the Low Voltage Cut-Off setting up to 12.2V or 12.4V to ensure the vehicle retains enough reserve charge for ignition. |
| Camera enters Parking Mode successfully, but shuts down after only two minutes instead of running overnight. | The timer setting on the hardwire kit or within the camera menu is overriding the voltage cut-off and shutting the device down prematurely. | Access the camera companion mobile app or hardwire dip switches to disable the timer function and rely solely on voltage protection. |
Costly Mistakes & Beginner Traps to Avoid
- Guessing Fuse Slots Without a Multimeter: Many beginners plug their hardwire kit into any empty fuse slot that fits the tap. If the slot stays live indefinitely or controls vital engine computers, it can drain your battery or disrupt vehicle sensors. Always use a digital multimeter or circuit tester to verify whether a slot is truly ignition-switched or constant.
- Ignoring the Low Voltage Cut-Off Threshold: Setting your low voltage cutoff to the absolute minimum value to get longer overnight parking footage is a recipe for a dead battery. Older or factory-worn batteries need a higher voltage buffer to crank the starter motor successfully on cold mornings.
- Skipping Proper Chassis Grounding: Grounding the hardwire kit to a painted surface or a loose plastic bracket creates high electrical resistance. This poor connection causes erratic camera behavior, boot loops, and potential parasitic draw issues that slowly pull current from your electrical system. Always secure the ground ring to bare, unpainted metal bolted directly to the vehicle frame.
- Leaving Auxiliary USB Adapters Plugged In: Relying on a cheap 12V cigarette lighter USB adapter with an always-on socket will slowly drain your battery even if the camera is unplugged. Many modern vehicles keep auxiliary sockets powered for hours after locking the doors, meaning the adapter itself continues to draw parasitic current.
Safe Self-Resolution and DIY Maintenance Scope
Stopping a dash cam from draining your car battery is often a straightforward fix that you can easily handle at home without any special mechanical training. When your vehicle starts slowly or the battery light flickers after your car sits overnight, the problem usually stems from simple menu settings or how the camera plugs into your vehicle. You can safely tackle these initial troubleshooting steps yourself to save time and money.
The most common and safe self-resolution involves adjusting the power settings directly on the device menu. Many modern cameras feature a built-in Parking Mode designed to record footage while the vehicle is parked and turned off. If your camera stays active 24/7 without a proper power management accessory, it will slowly drain the battery.
You can easily fix this by diving into the settings menu and turning off motion detection, lowering the recording sensitivity, or setting the device to turn off completely with the ignition. Changing these software settings carries zero risk to your vehicle’s electrical system and requires no tools.
Another highly practical DIY fix involves checking your physical power connections. Many drivers accidentally plug their cameras into an “always-on” 12-volt cigarette lighter socket rather than a switched accessory port that turns off with the key. Moving the power cable to a different port takes seconds and solves the problem immediately.
If your setup uses a Hardwire Kit to enable safe parking surveillance, you can easily inspect the inline fuses and adjust the integrated Low Voltage Cut-Off dials or switches. These dials let you set a precise voltage threshold, such as 12.0 volts or 12.4 volts, so the camera automatically shuts down before it can drain the car battery below the level needed to start the engine. As long as you are only unplugging cords, changing menu options, or adjusting external dials, you are well within a safe, cost-effective DIY scope.
When to Escalate to Hardware Replacement or Professional Service
While software tweaks and basic settings adjustments solve most power issues, there comes a point when tinkering stops working and you need to take further action. Because a dash cam is ultimately an electronic accessory rather than a core vehicle component, the threshold for replacing the unit is relatively low, while the need to hire a professional auto electrician is reserved for specific, complex scenarios.
If you have already verified your settings, tested your power source, and ensured your Hardwire Kit is configured correctly, but the device still stays powered on indefinitely or randomly corrupts memory cards, the unit itself is likely defective. Internal power management chips inside these gadgets can fail due to extreme summer heat or manufacturing flaws. When a device suffers from permanent internal hardware failure, endless troubleshooting is a waste of time.
Instead, you should check your purchase date and file a warranty RMA (Return Merchandise Authorization) with the manufacturer for a direct replacement. If the warranty has expired, simply replacing the worn-out gadget with a newer, more efficient model is much more practical than attempting risky micro-soldering or internal repairs on a small consumer accessory.
On the other hand, you must know when to stop and call a certified professional to protect your vehicle and your personal safety. You should immediately halt DIY efforts if the issue involves complex vehicle integration, such as tapping into sensitive fuse boxes behind advanced factory dashboard computers, European luxury vehicle CAN bus wiring systems, or hybrid and electric vehicle high-voltage electrical architecture. If you notice melted fuse taps, exposed frayed copper wires, burning smells, or intermittent electrical shorts that blow your vehicle’s internal fuses repeatedly, put the tools down.
An untrained user working blindly inside modern fuse panels risks deploying airbags, frying expensive body control modules, or causing an electrical fire. In these complex scenarios, hiring a certified mobile electronics technician or auto electrician is the safest path to protect your car battery and your vehicle’s intricate electrical network.
Decision Comparison Table
| Decision Factor | Self-Resolution / DIY | Escalation / Replacement / Pro Service |
|---|---|---|
| Typical Time Required | 15 to 30 minutes | 1 to 3 hours (or shipping time for RMA) |
| Estimated Cost Range (in USD) | $0 (Free adjustments) to $30 (New fuse tap or hardwire cable) | $50 to $150 (Professional labor) or $70 to $250+ (New dash cam replacement) |
| Skill Level Required | Basic (Reading a manual, changing device menu settings) | Advanced (Advanced vehicle wiring knowledge) or Consumer level (Processing a warranty claim) |
| Equipment Needed | Smartphone, user manual, basic screwdriver, or digital multimeter | Multimeter, wire strippers, soldering iron, vehicle-specific trim tools, or warranty documentation |
| Risk Level | Very Low (Zero vehicle damage risk when touching only settings and plugs) | Moderate to High (Risk of blown vehicle fuses, computer module damage, or battery drain if wired incorrectly) |
Frequently Asked Questions
Will unplugging my dash cam every time I leave the car completely stop battery drain?
Yes, manually unplugging the device from the cigarette lighter port cuts power entirely when the engine is off. However, this means you will lose Parking Mode surveillance protection while your vehicle is parked and unattended.
How does a hardwire kit prevent a dead car battery?
A hardwire kit connects your camera directly to the fuse box and features a built-in low voltage cut-off mechanism. This specialized module automatically shuts off the Dash Cam when the Car Battery drops below a safe voltage threshold, ensuring you always have enough power to start your engine.
Can I use a portable power bank instead of my car battery for Parking Mode?
You can use a dedicated dash cam battery pack that charges while you drive and powers the camera while parked. This protects your primary Car Battery from any drain issues, though these external packs require proper ventilation and professional installation.
Why is my camera recording continuously even after I turn off the ignition?
Many modern vehicles feature “always-on” cigarette lighter sockets that supply power even when the key is removed. If your camera stays on, you need to plug it into a switched accessory port or switch to a Hardwire Kit with a configured Low Voltage Cut-Off.
What is the ideal voltage cutoff setting for my hardwire kit?
For standard 12-volt automotive batteries, a setting of 12.2V to 12.4V is generally recommended to balance adequate parking surveillance time with safe engine-starting capability. If you live in a very cold climate, setting the threshold slightly higher helps protect a weaker battery from freezing temperatures.
Does using motion detection drain the battery faster than timelapse mode?
Timelapse mode records a continuous low-frame-rate video, which draws a steady, predictable amount of power over time. Motion detection only draws heavier processing power when an event occurs, but poorly tuned sensitivity settings can keep the sensor awake constantly and drain the battery just as quickly.
Preventative Care & Long-Term Maintenance Schedule
- Routine Check (Every Time You Drive): Visually confirm that the dash cam powers down automatically or enters Parking Mode shortly after you turn off the ignition and lock the vehicle.
- Monthly Inspection: Test the Low Voltage Cut-Off settings on your hardwire kit using a digital multimeter to ensure the voltage thresholds are still triggering accurately.
- Seasonal Preparation (Before Winter): Have your Car Battery load-tested by an auto parts store, as cold weather drastically reduces battery capacity and makes it much more sensitive to any residual electrical load from a Hardwire Kit.
- Annual Review: Inspect all exposed wiring, fuses, and connection points for signs of wear, corrosion, or loose fits that could cause intermittent power issues or electrical shorts.
Assess your current parking protection needs today and choose either a switched power socket or a properly adjusted Hardwire Kit with an active Low Voltage Cut-Off to protect your vehicle’s electrical system.


